Introduction
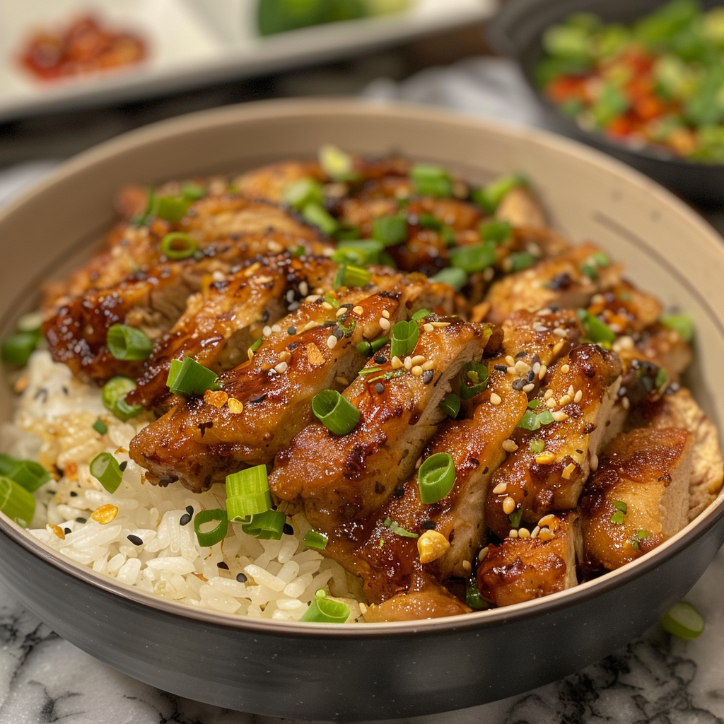
Growing up in my Polish-American household in Chicago, my babcia’s kitchen was the heart of our home, filled with the comforting aromas of simmering pierogi fillings and yeast dough rising on the radiator. But my most vivid food memory isn’t from the old country—it’s the sizzle of soy sauce hitting a hot skillet, a sound that still makes my kids, Ella and Peter, come running. This pan fried korean soy chicken is my love letter to those busy weeknights when you need something fast, sticky, sweet, and utterly irresistible. It’s the kind of simple, comforting food with a creative twist that I adore—proof that you don’t need fancy ingredients to create magic in your own cozy kitchen.
Why You’ll Love This Recipe
This pan fried korean soy chicken is the ultimate weeknight hero. It comes together in about 30 minutes from start to finish, using pantry staples like soy sauce, garlic, and a touch of honey. The chicken gets beautifully crispy on the outside from pan-frying, then gets tossed in a glossy, savory-sweet glaze that clings to every single bite. It’s a restaurant-quality meal that’s secretly simple enough for a busy Tuesday, and my husband always jokes it’s his favorite “fancy” dinner I make.
Beyond the incredible flavor, this dish is incredibly versatile and family-friendly. It’s naturally dairy-free and can easily be made gluten-free with a simple soy sauce swap. The balance of salty, sweet, and savory appeals to even the pickiest eaters, making it a guaranteed win at the dinner table. Plus, it’s a one-pan wonder, which means less time scrubbing dishes and more time enjoying a delicious meal with the people you love.
Ingredients
Here’s what you’ll need to create this delicious pan fried korean soy chicken. I’ve included some notes to help you get the best results.
- 1.5 lbs boneless, skinless chicken thighs – Thighs are my go-to for this recipe because they stay juicy and tender. You can use chicken breasts, but be careful not to overcook them.
- 1/4 cup low-sodium soy sauce – This is the base of our sauce. Low-sodium is key so we can control the saltiness. For a gluten-free version, use tamari or coconut aminos.
- 3 tablespoons honey – This adds the perfect amount of sweetness to balance the salty soy. You can substitute with brown sugar or maple syrup.
- 2 tablespoons gochujang (Korean chili paste) – This is the heart of the Korean flavor, adding a wonderful depth and a gentle kick of heat. If you don’t have it, you can use a mix of sriracha and a little miso paste.
- 3 cloves garlic, minced – Fresh garlic is a must for that pungent, aromatic flavor.
- 1 tablespoon fresh ginger, grated – Ginger adds a bright, zesty warmth that pairs beautifully with the garlic and soy.
- 1 tablespoon sesame oil – For toasting the chicken and adding a nutty, rich flavor.
- 1 tablespoon vegetable or canola oil – For pan-frying, as it has a high smoke point.
- 1 tablespoon rice vinegar – A splash of acidity to brighten up the sauce and cut through the richness.
- 1 teaspoon sesame seeds – For garnish, adding a lovely crunch and visual appeal.
- 2 green onions, thinly sliced – For a fresh, oniony finish.
- 1 tablespoon cornstarch mixed with 2 tablespoons water (slurry) – This helps thicken the sauce to a perfect glossy consistency.
Step-by-Step Instructions
Let’s get cooking! Follow these simple steps for the most delicious pan fried korean soy chicken.
- Prep the chicken: Pat the chicken thighs dry with paper towels. This is a crucial step for getting a good sear. Cut the chicken into bite-sized, 1-inch pieces. Season lightly with a pinch of salt and pepper.
- Make the sauce: In a small bowl, whisk together the soy sauce, honey, gochujang, minced garlic, grated ginger, and rice vinegar. Set it aside. This is your flavor-packed sauce.
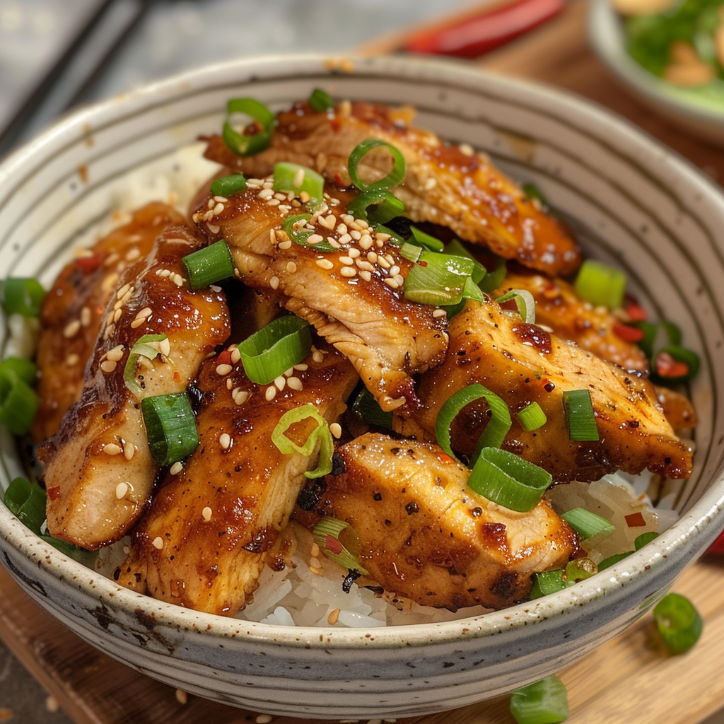
- Pan-fry the chicken: Heat the sesame oil and vegetable oil in a large skillet over medium-high heat. Once the oil is shimmering, carefully add the chicken pieces in a single layer. Don’t overcrowd the pan; you may need to work in batches. Let them cook undisturbed for 4-5 minutes per side, until golden brown and cooked through. The chicken should reach an internal temperature of 165°F.
- Create the glaze: Once the chicken is cooked and crispy, reduce the heat to low. Pour the prepared sauce over the chicken in the skillet. Stir everything together so the chicken is fully coated.
- Thicken the sauce: Give your cornstarch slurry a quick stir, then pour it into the skillet. Continue to stir and cook for 1-2 minutes, as the sauce will quickly thicken into a beautiful, sticky glaze that clings to the chicken.
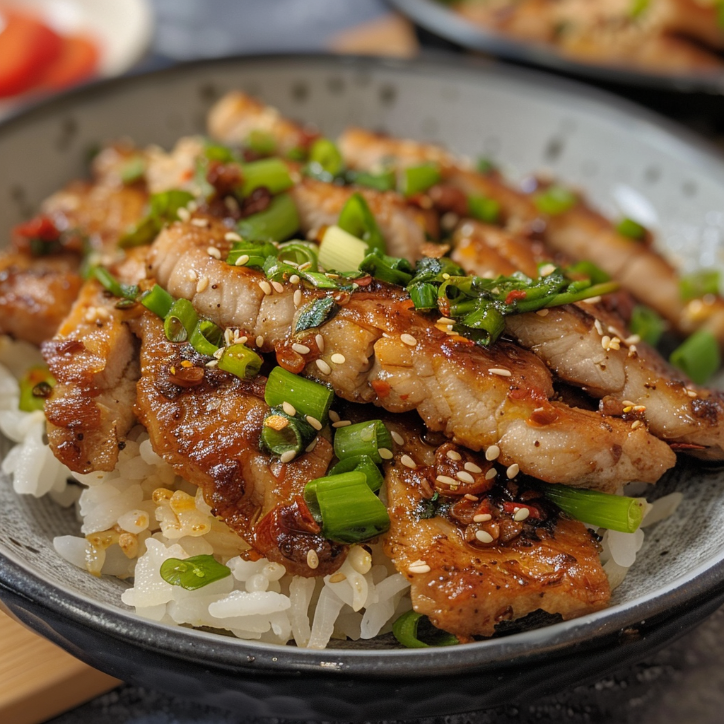
- Finish and serve: Remove the skillet from the heat. Sprinkle generously with sesame seeds and sliced green onions. Serve immediately over steamed rice and enjoy every single bite!
What Makes This Recipe Special
- ✓Quick and easy to prepare
- ✓Packed with flavor and nutrition
- ✓Perfect for any occasion
- ✓Customizable to your taste preferences
- ✓Budget-friendly ingredients
Expert Tips for Success
To make sure your pan fried korean soy chicken turns out perfect every time, keep these tips in mind.
YOUR COMPLETE RECIPE COLLECTION
Stop Searching for Meal Ideas—Get 50+ Delicious Recipes in One E-Book
Get the complete recipe e-book and discover delicious meal ideas collected in one convenient place.
Discover All 50+ Recipes- Don’t skip drying the chicken: Moisture is the enemy of crispiness. Patting the chicken thighs completely dry before adding them to the hot pan ensures they get a beautiful golden-brown crust instead of steaming.
- Watch the heat: Cooking over medium-high heat is essential for a good sear, but be careful not to burn the garlic in the sauce. That’s why we add the sauce after the chicken is cooked and lower the heat before adding it.
- Adjust the spice: Gochujang’s heat level can vary by brand. Start with 1 tablespoon if you’re sensitive to spice, taste the sauce, and add more to reach your desired heat level. It’s always easier to add than to take away!
Variations and Substitutions
This recipe is wonderfully flexible. Here are a few of my favorite ways to change it up.
- Make it Gluten-Free: Simply swap the regular soy sauce for tamari or coconut aminos. Both work perfectly and the flavor will be just as delicious.
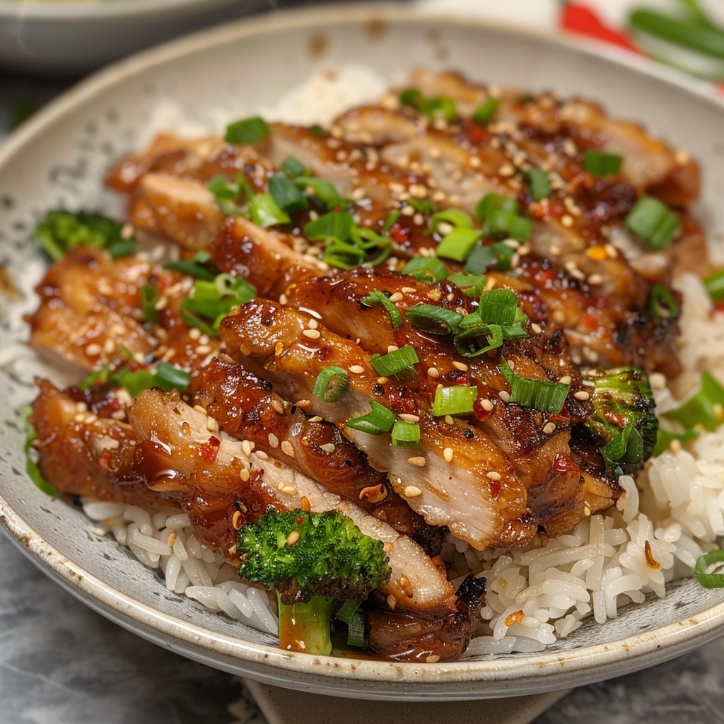
- Add Some Veggies: Bulk up the meal by adding broccoli, bell peppers, or snap peas to the skillet. Just sauté them for a few minutes before adding the chicken back in, or cook them right after the chicken is done.
- Try a Different Protein: This sauce is amazing on more than just chicken. Try it with pan-fried tofu, shrimp, or even thinly sliced beef for a quick and tasty bulgogi-style dish.
Serving Suggestions
This pan fried korean soy chicken is best served hot, right off the skillet. I love it piled high on a bed of fluffy steamed jasmine rice to soak up all that incredible sauce. For a complete meal, serve it alongside some quick-pickled cucumbers or a simple side of sautéed bok choy or spinach.
For a fun family-style dinner, set out the chicken with bowls of rice, extra sesame seeds, and sliced green onions so everyone can build their own perfect bowl. A cold glass of iced tea or a light lager would be the perfect drink to balance the sweet and savory flavors.
FAQs
Can I use chicken breasts instead of thighs?
Absolutely! Chicken breasts will work, but they can dry out more easily. To prevent this, keep a close eye on them and remove them from the pan as soon as they are cooked through. You might also want to cut them slightly larger to help retain moisture.
How should I store and reheat leftovers?
Store any leftovers in an airtight container in the refrigerator for up to 3 days. To reheat, I recommend using a skillet over medium heat to help re-crisp the chicken. You can also use the microwave, but the chicken will be softer.
Can I make this recipe ahead of time?
You can prepare the sauce and cut the chicken up to a day in advance. When you’re ready to eat, just cook the chicken and toss it with the sauce. The dish is best enjoyed fresh, but it still tastes great as leftovers the next day.
Final Thoughts
I truly hope this pan fried korean soy chicken becomes a beloved staple in your home like it is in mine. It’s a dish that brings a little bit of excitement to the weeknight table without a lot of fuss. So tie on your apron, fire up that skillet, and get ready for a dinner that’s sticky, savory, sweet, and absolutely unforgettable. Happy cooking, friends!
I hope you loved making this pan fried korean soy chicken—it’s sticky, savory, and so satisfying that it feels like a warm hug from my Chicago kitchen to yours. If you’re looking for more cozy and delicious meals, you might also enjoy these family favorites: a comforting Creamy Tuscan Chicken Pasta, a hearty Slow Cooker Beef Stew, or a simple Garlic Butter Shrimp Skillet. For a sweet finish, don’t miss my Chocolate Chip Banana Bread—it’s perfect for using up ripe bananas.
Join us on our Facebook Page and Facebook Group—and don’t forget to follow us on Pinterest for daily inspiration!
· American ·
Mouthwatering Pan Fried Korean Soy
Crispy pan-fried chicken thighs tossed in a sticky, sweet, and savory Korean soy glaze. This quick and easy weeknight dinner is packed with flavor and ready in 30 minutes.
Keep the screen of your device on while you follow the steps.
- Pat the chicken thighs dry and cut into bite-sized pieces.
- In a small bowl, whisk together soy sauce, honey, gochujang, garlic, ginger, and rice vinegar.
- Heat sesame and vegetable oil in a large skillet over medium-high heat.
- Add chicken in a single layer and cook for 4-5 minutes per side until golden brown and cooked through.
- Reduce heat to low and pour the sauce over the chicken, stirring to coat.
- Add the cornstarch slurry and stir for 1-2 minutes until the sauce thickens and becomes glossy.
- Remove from heat and garnish with sesame seeds and green onions before serving.