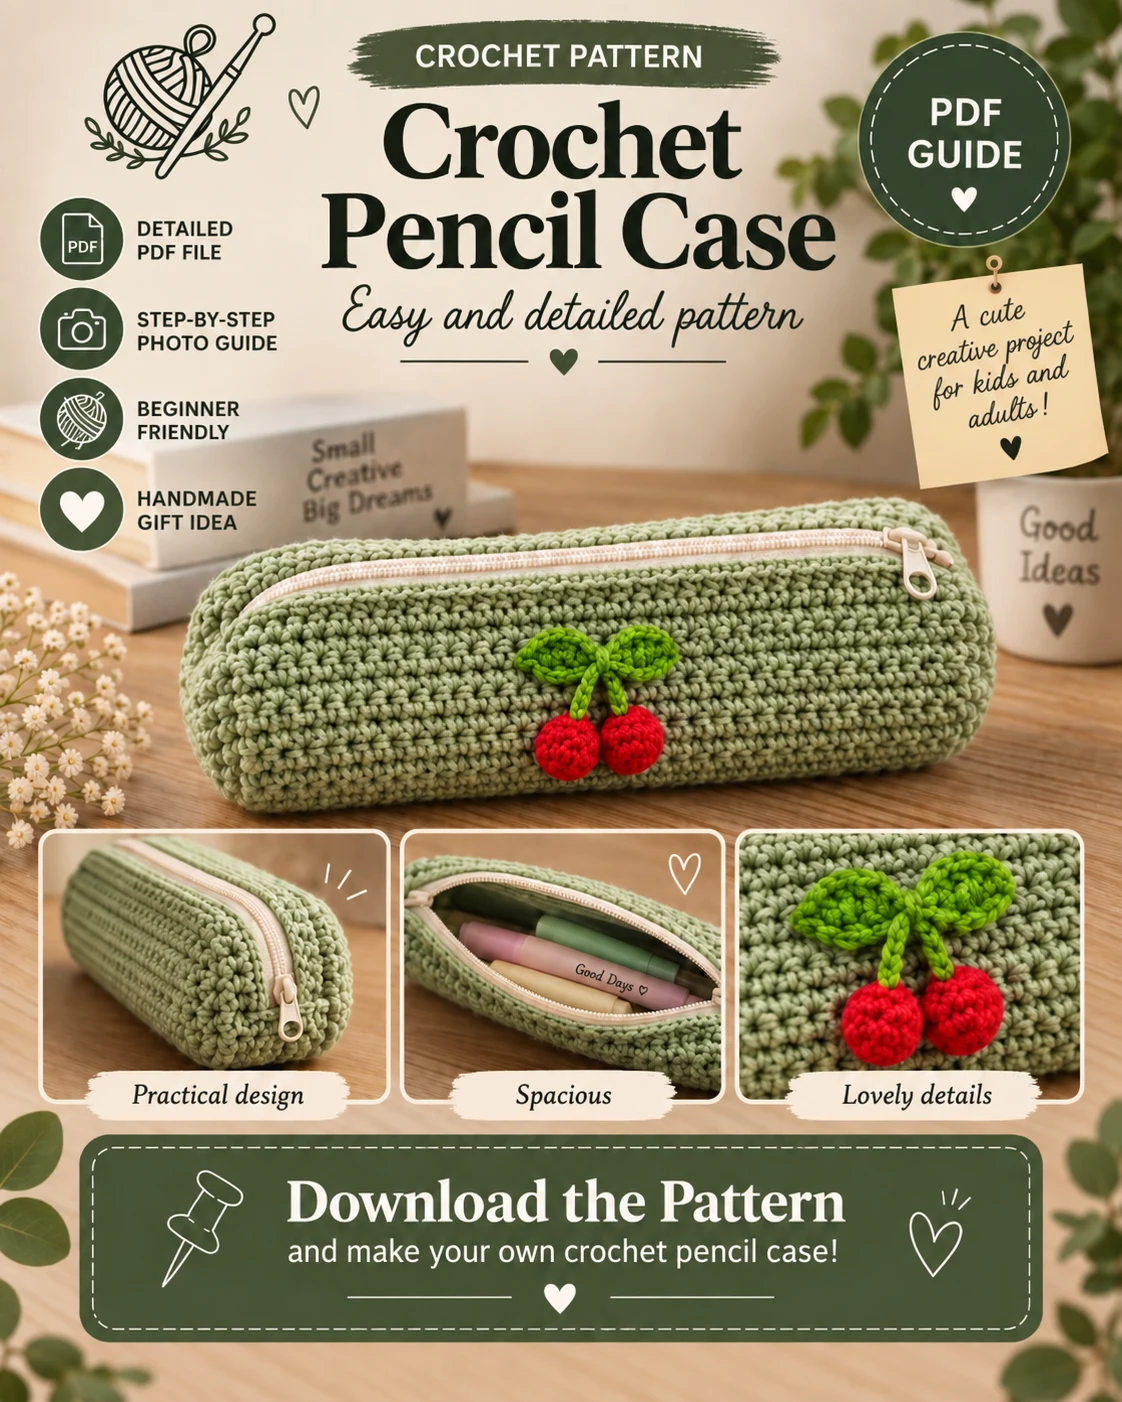
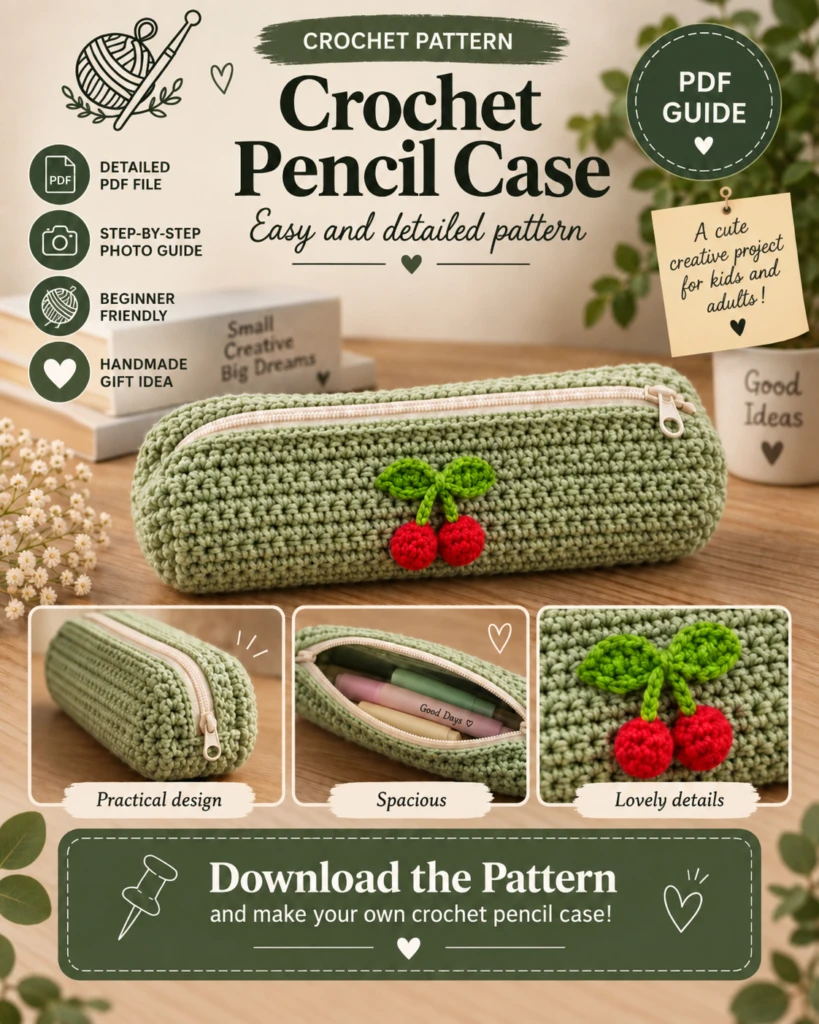
Looking for a practical crochet project that is cute, beginner-friendly, and actually useful? This crochet pencil case pattern is a lovely project for storing pens, pencils, crochet hooks, makeup brushes, or other small essentials. The soft pistachio-green yarn gives the pouch a fresh handmade look, while the little red cherry appliqué adds a playful finishing touch.
This tutorial walks you through the complete process: crocheting the pencil case body, shaping the pouch, adding the zipper, making the cherries and leaves, and sewing everything together.
The finished project also makes a beautiful handmade gift for students, teachers, craft lovers, or anyone who loves cozy crochet accessories.
Why You’ll Love This Crochet Pencil Case
This pattern is simple enough for confident beginners but still gives you a polished result that looks professionally handmade.
You’ll especially love that it is:

YOUR COMPLETE RECIPE COLLECTION
Stop Searching for Meal Ideas—Get 50+ Delicious Recipes in One E-Book
Get the complete recipe e-book and discover delicious meal ideas collected in one convenient place.
Discover All 50+ Recipes- Beginner-friendly
- Quick to crochet
- Easy to customize
- Useful for everyday storage
- Perfect for gifting
- Made with simple crochet stitches
- Decorated with an adorable cherry appliqué
- Easy to make in different colors and sizes
You can also leave off the cherries if you prefer a minimalist pencil case or replace them with flowers, hearts, strawberries, bows, or another small crochet appliqué.
Materials You’ll Need
For this crochet pencil case, gather the following supplies:
- Medium-weight cotton or cotton-blend yarn in pistachio or sage green
- Small amount of red yarn for the cherries
- Small amount of brighter green yarn for the leaves and stems
- Crochet hook suitable for your yarn, usually around 3.5–4.5 mm
- Cream or beige zipper, approximately 20–22 cm / 8–9 inches
- Yarn needle
- Sewing needle and matching thread
- Scissors
- Stitch markers
- Pins or sewing clips
- Measuring tape
Cotton yarn is particularly suitable because it creates a firm fabric that keeps the pencil case’s shape well.
Crochet Abbreviations
This tutorial uses standard US crochet terminology:
ch – chain
sc – single crochet
sl st – slip stitch
st/sts – stitch/stitches
inc – increase
dec – decrease
MR – magic ring
You do not need many complicated stitches for this project. Most of the pencil case can be made using simple single crochet.
Finished Size
A convenient finished size is approximately:
8–9 inches / 20–23 cm long
3–3.5 inches / 7.5–9 cm high
The exact size depends on your yarn, hook, tension, and zipper.
For the best result, choose your zipper first and crochet the pouch so the opening approximately matches the zipper length.
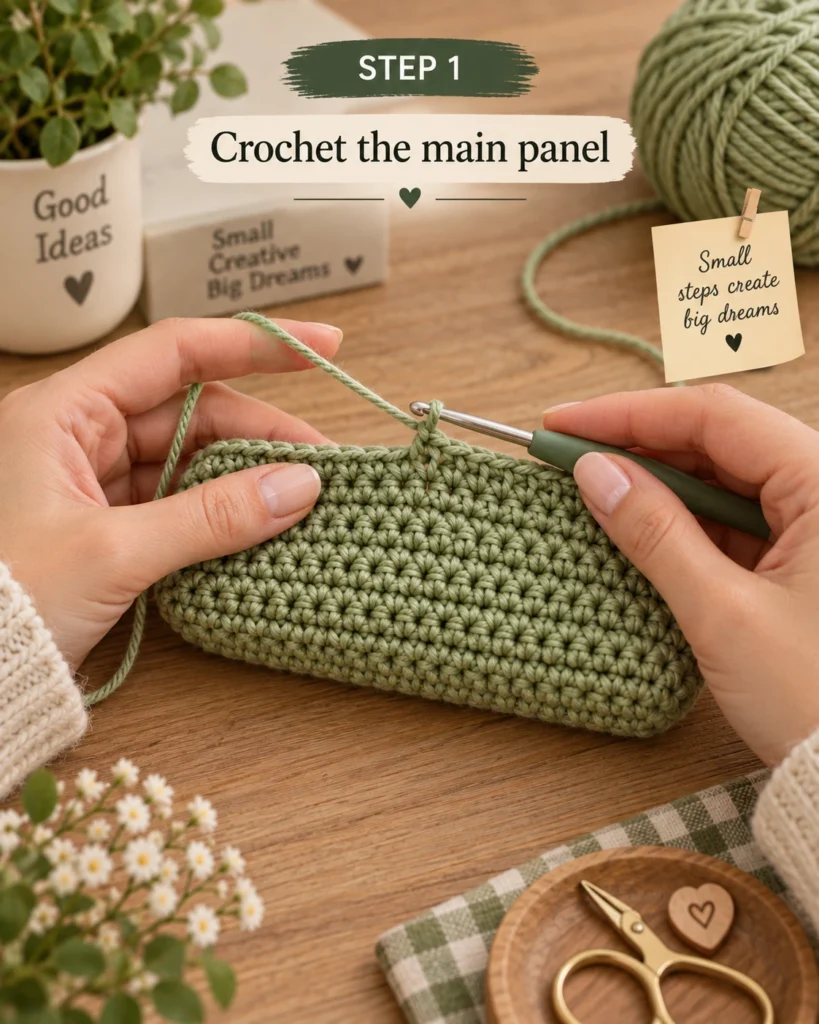
Step 1: Crochet the Main Pencil Case Body
Start with your pistachio-green yarn.
Create a foundation chain slightly shorter than the desired finished length of your pencil case.
Work single crochet stitches along the chain.
When you reach the end, instead of turning immediately, continue around the opposite side of the foundation chain. This creates an oval base.
Increase around both ends so the work lies flat.
Continue crocheting around the piece.
After the base reaches the desired width, stop increasing and work one single crochet into each stitch.
Continue crocheting in rounds.
As you add rounds, the sides will naturally begin growing upward, creating the pouch shape.
Keep checking the height against your desired finished pencil case.
A dense stitch is ideal. You do not want large holes between stitches because pencils or pens could push through the fabric.
Expert Tip
Use a slightly smaller crochet hook than you normally would for the yarn. This creates a firmer fabric and helps the pencil case hold its shape.
Step 2: Shape the Top Opening
Once the pouch reaches the desired height, check that both sides of the opening are even.
Finish your last round neatly and fasten off.
Weave in the yarn ends.
Gently shape the pouch with your hands before attaching the zipper.
If the pouch seems slightly uneven, lightly blocking the crochet piece can help.
Do not stretch it too much because you want the finished pencil case to remain firm.
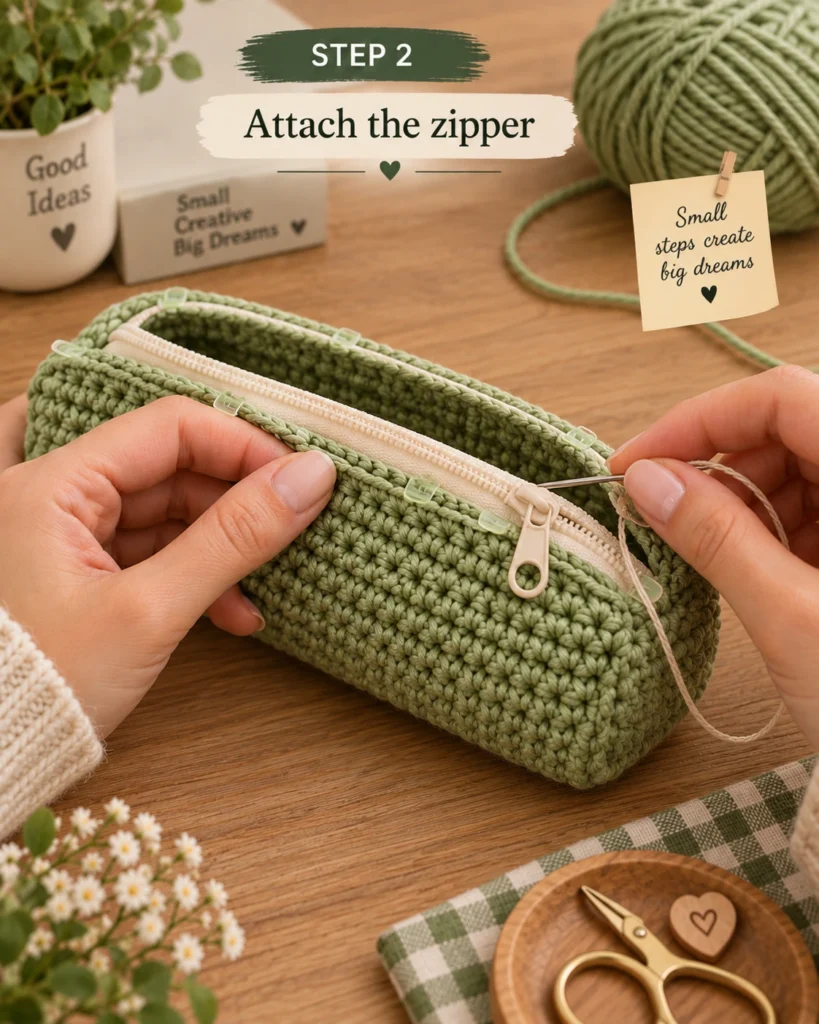
Step 3: Attach the Zipper
Position the zipper inside the top opening.
Center it carefully so both zipper ends are evenly positioned.
Use sewing clips or pins to hold the zipper tape against the crochet fabric.
Open and close the zipper before sewing to make sure it moves freely.
Using a sewing needle and matching thread, begin stitching the zipper to the inside edge of the crochet fabric.
Use small, even stitches.
Continue along one side of the zipper, then repeat on the opposite side.
Try not to pull the thread too tightly, as this could make the zipper opening wrinkle.
After sewing, test the zipper several times.
The opening should remain smooth and easy to use.
What Makes This Recipe Special
Although this isn’t a food recipe, the same idea applies to a handmade pattern: the finishing details make all the difference.
The combination of the soft green pouch, cream zipper, and bright red cherries creates a simple design that immediately stands out.
The cherry detail is also easy to replace, which means you can use the basic pencil case pattern repeatedly and create completely different designs.
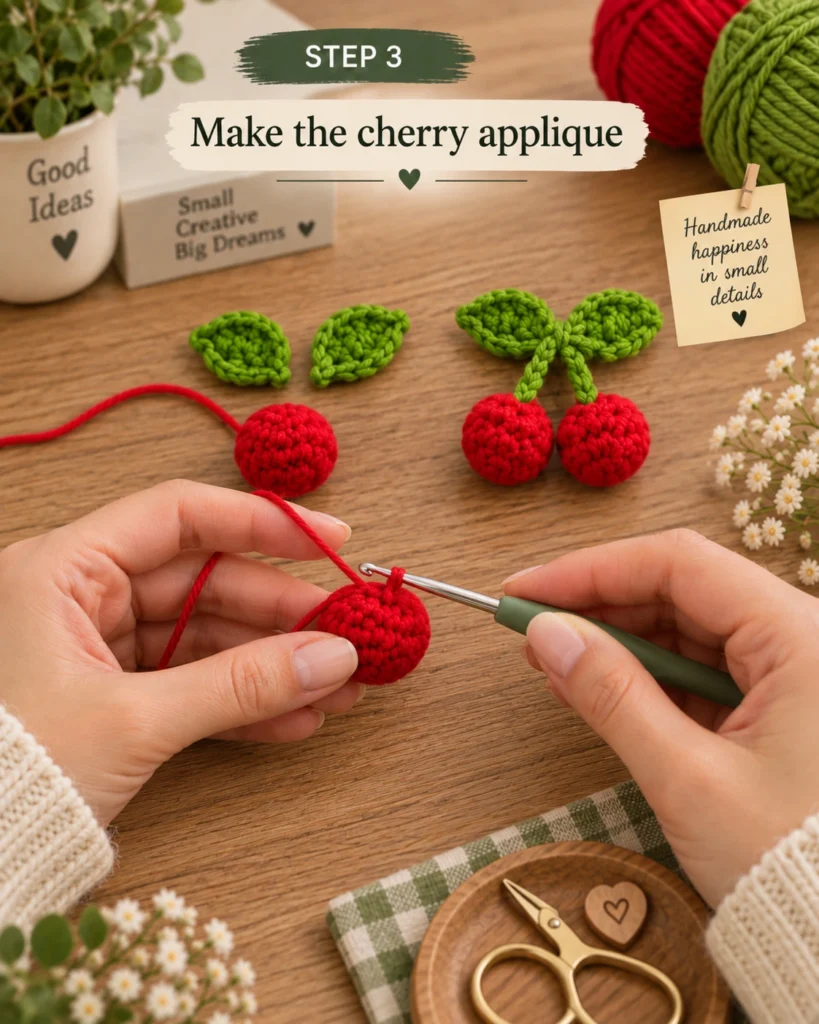
Step 4: Crochet the Cherries
Using red yarn, make a magic ring.
Work several single crochet stitches into the ring and pull it closed.
Continue working in rounds while gradually increasing until you have a small circular shape.
Crochet a few rounds evenly to give the cherry some dimension.
Then decrease until the opening becomes small.
Before closing completely, you can add a tiny amount of fiberfill if you want a rounded 3D cherry.
Close the opening and leave a long yarn tail for sewing.
Make a second cherry the same way.
For a flatter appliqué, simply crochet two small circles instead of stuffed cherries.
Step 5: Make the Cherry Stems
Using green yarn, attach the yarn to the top of one cherry.
Create a short chain to form the stem.
Repeat for the second cherry.
Join the stems toward the top so the cherries hang naturally beside each other.
Do not make the stems too long. A short stem keeps the appliqué compact and neat on the pencil case.
Step 6: Crochet Two Leaves
With green yarn, chain several stitches.
Working around the chain, use a combination of slip stitches, single crochet, and taller stitches toward the center to create a pointed leaf shape.
Work along the opposite side of the chain and finish at the starting point.
Fasten off, leaving enough yarn for sewing.
Make a second leaf.
The leaves do not need to be perfectly identical. Small differences can make handmade pieces look even more charming.
Step 7: Assemble the Cherry Appliqué
Position the two cherries near the center front of the pencil case.
Place the leaves above the cherries.
Before sewing anything permanently, move the pieces around until you are happy with the placement.
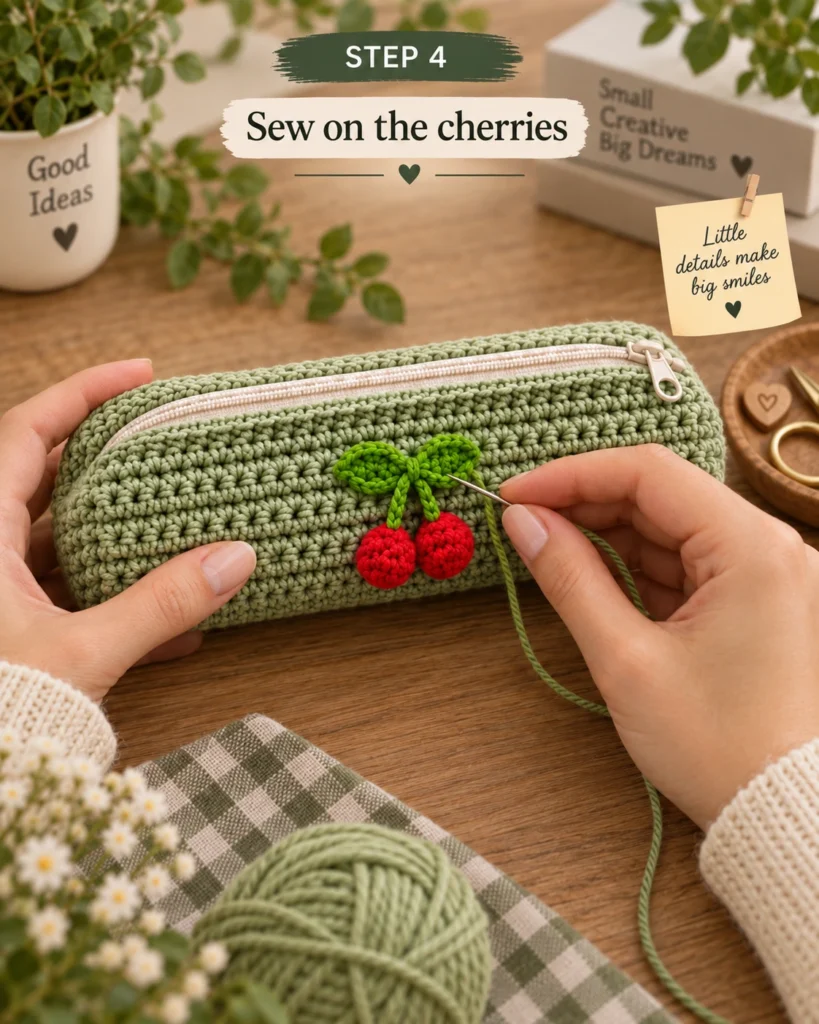
Using the yarn tails and a yarn needle, sew each piece securely to the pouch.
Try to hide your stitches inside the crochet fabric.
When everything is secure, weave in the remaining yarn ends.
Expert Tips for Success
Keep your tension consistent throughout the project. Uneven tension can make one side of the pencil case taller than the other.
Always measure the zipper before finishing the body. It is much easier to adjust the crochet size before the zipper is attached.
When sewing the zipper, work slowly and keep checking that the fabric is not bunching.
If you plan to use the pouch for small objects, consider adding a fabric lining before attaching the zipper.
Cotton yarn works especially well because it provides structure without making the pouch excessively bulky.
Easy Variations
Once you understand the basic construction, you can create many different versions.
Try a cream pencil case with strawberries, pink with small flowers, lavender with daisies, beige with a crochet bow, or black with colorful hearts.
You can also make the pouch longer for crochet hooks or shorter for makeup accessories.
Another idea is to use several yarn colors and create stripes across the body.
How to Use Your Crochet Pencil Case
Your finished pouch can hold much more than pencils.
Use it for:
- Pens and markers
- Crochet hooks
- Small craft tools
- Makeup brushes
- Travel essentials
- Charging cables
- Small stationery
- School supplies
You could even make several matching pouches in different colors for organizing your bag or craft room.
Frequently Asked Questions
Is this crochet pencil case beginner-friendly?
Yes. If you know how to chain, single crochet, increase, decrease, and work in rounds, you should be able to complete the project.
What yarn is best for a crochet pencil case?
Cotton or a cotton-blend yarn is recommended because it creates a sturdy fabric with good stitch definition.
Can I make the pencil case without a zipper?
Yes. You could replace the zipper with a button flap, drawstring closure, or crochet loop and button.
Can I change the size?
Absolutely. Simply change the length of your starting chain and continue crocheting until the pouch reaches your preferred height. Just remember to choose a zipper that fits the finished opening.
Final Thoughts
This easy crochet pencil case pattern is a wonderful project when you want something practical without committing to a large crochet project.
The pistachio-green body keeps the design soft and modern, while the little red cherries give it a cheerful handmade character.
Once you have made your first pencil case, experiment with different yarn colors and appliqués. The basic construction can become the foundation for dozens of unique designs.
Whether you’re making one for yourself, preparing handmade gifts, or simply looking for your next relaxing crochet project, this little pencil case is a fun addition to your crochet collection.
Save this crochet pencil case pattern on Pinterest so you can come back to it whenever you’re ready to start your next handmade project.