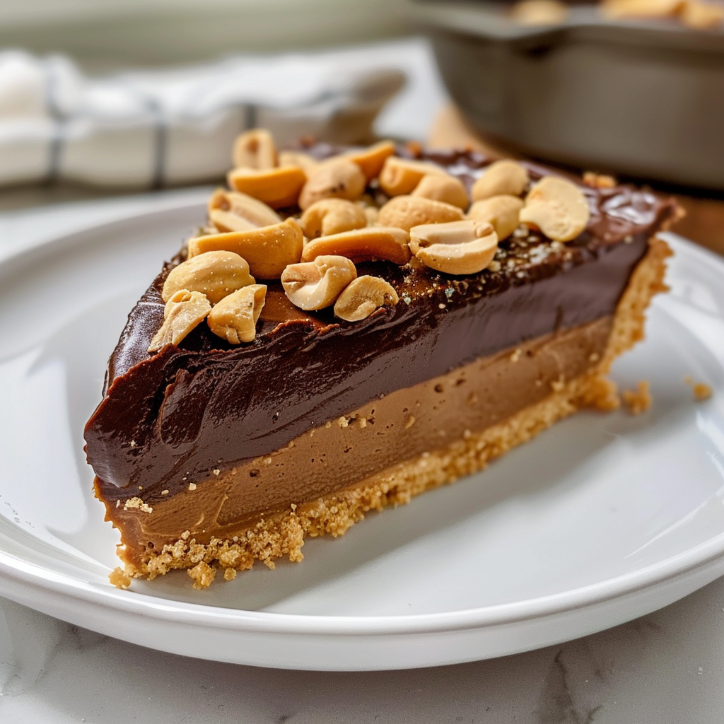
Imagine a bustling Chicago kitchen, the air filled with the sweet aroma of chocolate and the unmistakable crunch of peanuts. That’s where my love for no bake chocolate peanut treats began. Growing up in a Polish-American household, my babcia always had a knack for creating the most delightful desserts, often with a twist that made them irresistibly unique. One of my fondest memories is helping her mix ingredients on a warm summer afternoon, the kitchen windows open wide to let in the city sounds. This no bake chocolate peanut recipe is a nod to those cherished times, combining the rich, creamy essence of chocolate with the nutty goodness of peanuts in a way that’s both nostalgic and refreshingly modern. It’s a family favorite that I’ve lovingly adapted over the years, and I’m thrilled to share it with you today.
Why You’ll Love This Recipe
This no bake chocolate peanut recipe is a dream come true for anyone who loves quick and easy desserts. Not only is it incredibly simple to make, but it’s also perfect for those hot summer days when you just can’t bear to turn on the oven. The combination of chocolate and peanuts is a classic that never fails to delight, offering a perfect balance of sweet and salty flavors. Plus, it’s naturally gluten-free and can be easily adapted to suit a vegan diet by using dairy-free chocolate. Whether you’re a seasoned chef or a kitchen novice, this recipe is sure to become a staple in your dessert repertoire.
Ingredients
- 2 cups semi-sweet chocolate chips
- 1 cup creamy peanut butter
- 3 cups crispy rice cereal
- 1/2 cup honey or maple syrup (for a vegan option)
- 1 teaspoon vanilla extract
- 1/4 teaspoon salt
- 1/2 cup chopped peanuts
Step-by-Step Instructions
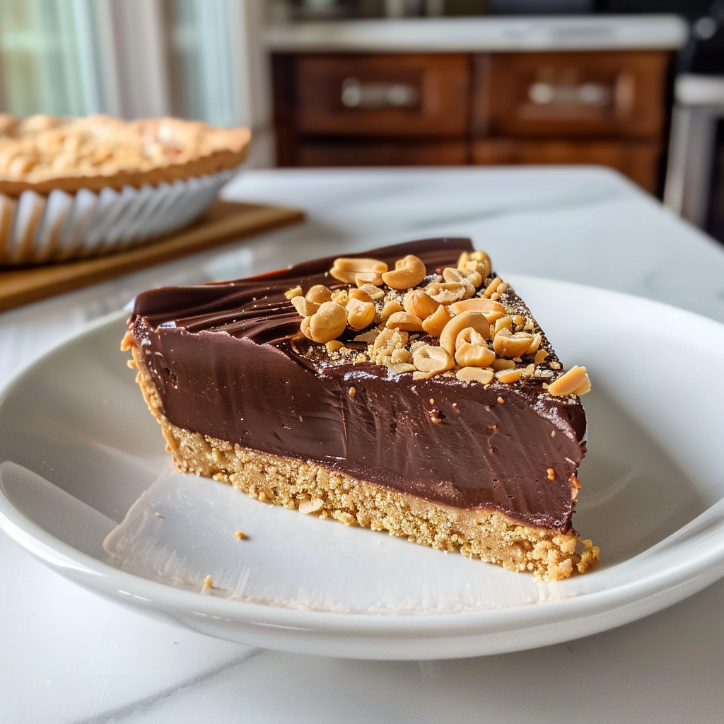
- In a large microwave-safe bowl, combine the chocolate chips and peanut butter. Microwave in 30-second intervals, stirring in between, until the mixture is smooth and fully melted.
- Add the honey (or maple syrup), vanilla extract, and salt to the chocolate-peanut butter mixture. Stir until well combined.
- Fold in the crispy rice cereal and chopped peanuts, ensuring everything is evenly coated with the chocolate mixture.
- Line a 9×13 inch baking dish with parchment paper. Pour the mixture into the dish and spread it evenly with a spatula.
- Refrigerate for at least 2 hours or until the mixture is firm and set. Once set, cut into squares and enjoy!
What Makes This Recipe Special
- Quick and easy to prepare
- Packed with flavor and nutrition
- Perfect for any occasion
- Customizable to your taste preferences
- Budget-friendly ingredients
Expert Tips for Success
To ensure your no bake chocolate peanut treats come out perfectly every time, here are a few expert tips:
- Use high-quality chocolate chips for the best flavor. The better the chocolate, the richer your treats will taste.
- If the mixture seems too sticky, you can add a bit more crispy rice cereal to help balance the texture.
- For an extra crunch, toast the peanuts lightly before adding them to the mixture.
- Store these treats in an airtight container in the refrigerator to keep them fresh and crisp.
Variations and Substitutions
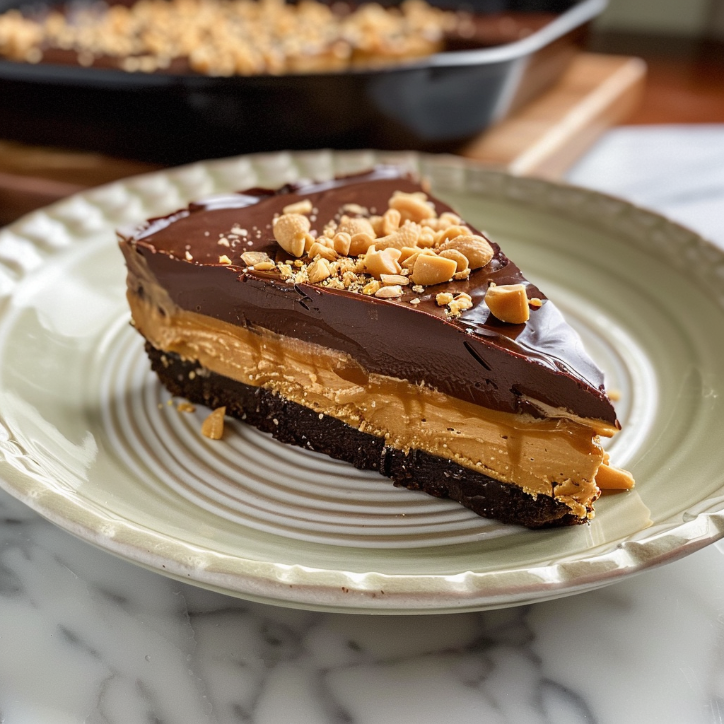
There are endless ways to customize this recipe to suit your taste preferences or dietary needs:
- For a nut-free version, substitute sunflower seed butter for peanut butter and use sunflower seeds instead of peanuts.
- Add a handful of mini marshmallows for a fun, rocky road twist.
- Drizzle with white chocolate for an elegant touch.
- Incorporate dried fruit, like cranberries or raisins, for a chewy texture contrast.
Serving Suggestions
These no bake chocolate peanut squares are incredibly versatile and can be served in various ways:
- Pair them with a scoop of vanilla ice cream for a decadent dessert.
- Serve alongside a hot cup of coffee or tea for a delightful afternoon snack.
- Include them in a dessert platter with fresh fruit and other bite-sized treats for a party.
FAQs
Can I use dark chocolate instead of semi-sweet?
Absolutely! Dark chocolate will give the treats a richer, more intense flavor. Just be mindful that it may alter the sweetness slightly.

YOUR COMPLETE RECIPE COLLECTION
Stop Searching for Meal Ideas—Get 50+ Delicious Recipes in One E-Book
Get the complete recipe e-book and discover delicious meal ideas collected in one convenient place.
Discover All 50+ RecipesHow long do these treats last?
Stored in an airtight container in the refrigerator, these treats will stay fresh for up to two weeks. But trust me, they rarely last that long!
Can I freeze these treats?
Yes, you can freeze them for up to three months. Just make sure to separate the layers with parchment paper to prevent sticking.
Final Thoughts
Creating these no bake chocolate peanut treats has been a joy, bringing back fond memories of my childhood in Chicago. I hope this recipe brings the same warmth and happiness to your home as it does to mine. Remember, cooking is all about love and laughter, so have fun with it!
👉 I hope you loved making these no bake chocolate peanut treats—they’re like a sweet hug from my kitchen to yours. If you’re craving more delightful desserts, why not try our Chocolate Chip Cookies, Peanut Butter Bars, or Banana Bread? Each one is a delicious adventure waiting to happen. Join us on our Facebook Page and Facebook Group — and don’t forget to follow on Pinterest for daily inspiration!
Main Course · American · Medium
No Bake Chocolate Peanut for the Whole Family
A delightful no bake dessert combining the rich flavors of chocolate and peanuts, perfect for any occasion.
Keep the screen of your device on while you follow the steps.
- In a large microwave-safe bowl, combine the chocolate chips and peanut butter. Microwave in 30-second intervals, stirring in between, until the mixture is smooth and fully melted.
- Add the honey (or maple syrup), vanilla extract, and salt to the chocolate-peanut butter mixture. Stir until well combined.
- Fold in the crispy rice cereal and chopped peanuts, ensuring everything is evenly coated with the chocolate mixture.
- Line a 9×13 inch baking dish with parchment paper. Pour the mixture into the dish and spread it evenly with a spatula.
- Refrigerate for at least 2 hours or until the mixture is firm and set. Once set, cut into squares and enjoy!