Introduction
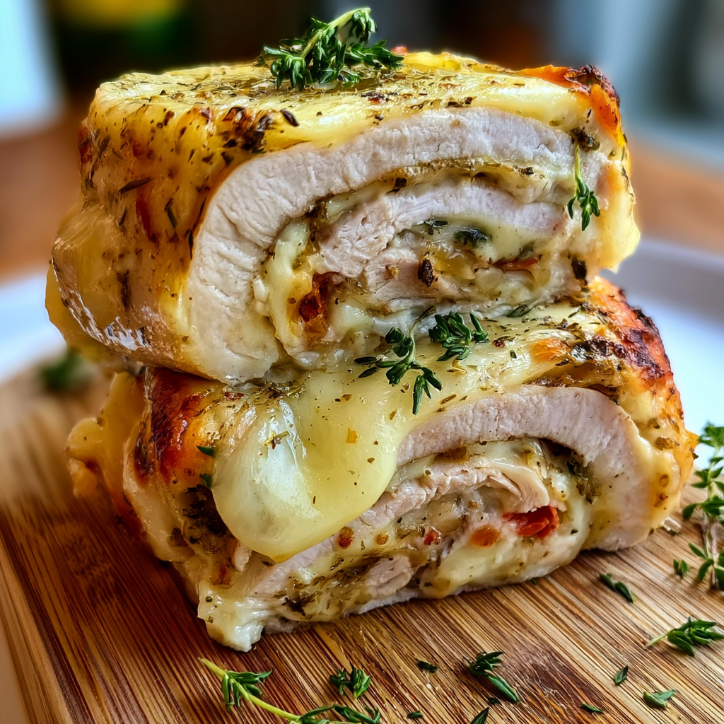
Growing up in my Polish-American household in Chicago, my mom and babcia had a rule: never waste a single thing. Leftover turkey from Sunday dinner became pierogi filling, and that golden bird was practically sacred. But my favorite trick? That was the day I discovered the magic of a freezer friendly turkey cheese roll-up—a warm, toasty, melty pocket of comfort that could be pulled from the freezer on a busy weeknight and taste like a hug from my grandmother’s kitchen. With two kids, Ella and Peter, and a husband who can eat his weight in casseroles, I need meals that work as hard as I do. This recipe is my little love letter to those chaotic, wonderful evenings.
Why You’ll Love This Recipe
This isn’t just another leftover turkey recipe; it’s a game-changer for your weekly meal prep. These freezer friendly turkey cheese roll-ups are incredibly easy to assemble, making them perfect for a fun family cooking session. They are the ultimate make-ahead meal, saving you time and energy on those nights when you’d rather be playing board games than standing over a hot stove. Plus, they’re a fantastic way to use up leftover holiday turkey, transforming it into something exciting that your kids will actually beg for.
Beyond the convenience, these roll-ups are packed with protein and flavor, making them a satisfying and balanced meal. They’re freezer friendly turkey cheese pockets that are endlessly customizable, so you can sneak in some veggies or spice things up for the adults. Whether you need a quick lunch, a kid-friendly dinner, or a hearty snack, these little bundles of joy are guaranteed to become a staple in your home. They’re simple, comforting, and just plain delicious—everything a family recipe should be.
Ingredients
Here’s what you’ll need to create these delicious freezer friendly turkey cheese roll-ups. This recipe is wonderfully flexible, so feel free to adjust based on what you have on hand.
- 2 cups cooked turkey, shredded or diced: This is perfect for leftover roasted turkey or even a store-bought rotisserie chicken. Make sure it’s well-drained.
- 1 cup shredded cheddar cheese: Sharp cheddar adds a wonderful bite, but you can use Colby Jack, mozzarella, or a Mexican blend.
- 1/2 cup cream cheese, softened: This is the secret to a creamy, cohesive filling that holds everything together beautifully.
- 1/4 cup mayonnaise or plain Greek yogurt: Adds moisture and a touch of tang. Greek yogurt is a great lighter option.
- 1 tablespoon Dijon mustard: Gives the filling a lovely savory depth that cuts through the richness.
- 1/4 cup finely chopped celery: Adds a satisfying crunch and freshness.
- 2 tablespoons chopped fresh parsley or chives: For a pop of color and fresh flavor.
- 1/2 teaspoon garlic powder: A pantry staple that adds savory goodness.
- Salt and black pepper to taste: Always season your filling!
- 8 large flour tortillas: Burrito-sized tortillas are best for rolling. You can also use whole wheat or spinach tortillas for extra nutrition.
- 2 tablespoons melted butter or olive oil: For brushing the tops to get that beautiful golden, crispy finish.
Step-by-Step Instructions
Let’s get rolling! These steps are simple and foolproof, even for little helpers in the kitchen.
- Make the filling: In a medium bowl, combine the softened cream cheese, mayonnaise (or Greek yogurt), Dijon mustard, garlic powder, salt, and pepper. Mix until smooth and creamy. This is your flavor base, so make sure it’s well combined.
- Add the good stuff: Fold in the shredded turkey, shredded cheddar cheese, chopped celery, and fresh herbs. Give everything a good stir until all the ingredients are evenly distributed. Take a little taste and adjust the seasoning if needed—this is the chef’s privilege!
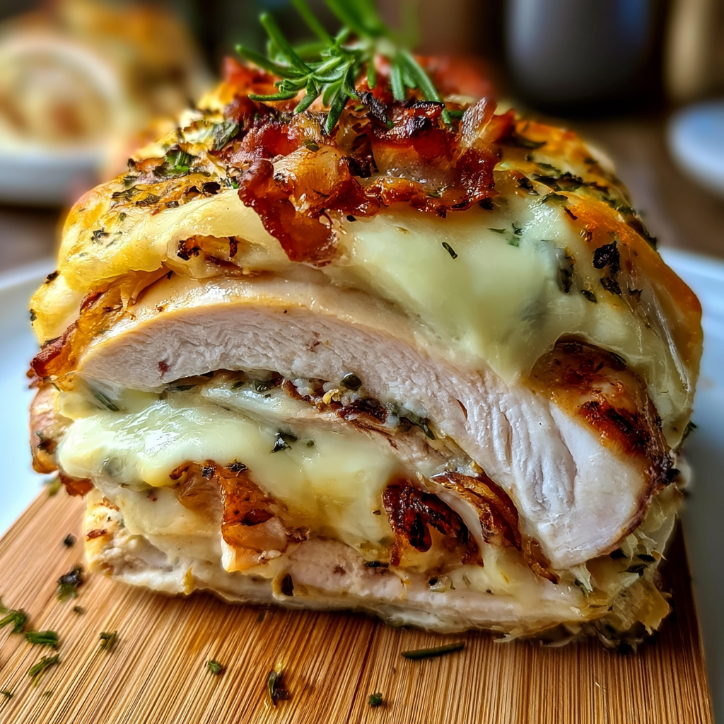
- Assemble the roll-ups: Lay a tortilla flat on a clean work surface. Spoon about 1/2 cup of the turkey mixture onto the center of the tortilla, spreading it into a log shape. Leave a little border around the edges so it’s easier to roll.
- Roll them up: Fold in the sides of the tortilla over the filling, then tightly roll it up from the bottom, just like you would a burrito. Make sure it’s snug so the filling stays inside while baking. Repeat with the remaining tortillas and filling.
- To bake fresh: Preheat your oven to 375°F (190°C). Place the roll-ups seam-side down on a baking sheet lined with parchment paper. Brush the tops with melted butter or olive oil. Bake for 15-20 minutes, or until golden brown and the cheese is bubbly.
- To freeze for later: If you’re making these as freezer friendly turkey cheese roll-ups, place the assembled (unbaked) roll-ups on a baking sheet and pop them in the freezer for about an hour, or until they are solid. This prevents them from sticking together.
- Freeze and store: Once frozen solid, transfer the roll-ups to a freezer-safe bag or container. They can be stored for up to 3 months. Label with the date so you know when you made them!
- Baking from frozen: When you’re ready to enjoy them, there’s no need to thaw! Just preheat your oven to 375°F (190°C), place the frozen roll-ups on a baking sheet, brush with butter, and bake for 25-30 minutes, or until heated through and golden brown.
What Makes This Recipe Special
- ✓Quick and easy to prepare
- ✓Packed with flavor and nutrition
- ✓Perfect for any occasion
- ✓Customizable to your taste preferences
- ✓Budget-friendly ingredients
Expert Tips for Success
These tips will ensure your freezer friendly turkey cheese roll-ups come out perfect every single time.

YOUR COMPLETE RECIPE COLLECTION
Stop Searching for Meal Ideas—Get 50+ Delicious Recipes in One E-Book
Get the complete recipe e-book and discover delicious meal ideas collected in one convenient place.
Discover All 50+ Recipes- Don’t overfill: It’s tempting to pile on the filling, but overfilling will make the tortillas difficult to roll and they may burst open during baking. Stick to about 1/2 cup per tortilla for the best results.
- Pre-freeze before storing: This is the most crucial step for freezing. By flash-freezing the roll-ups individually on a baking sheet first, they won’t stick together in the freezer bag, allowing you to pull out just one or two as needed.
- Make sure your filling is dry: Excess moisture from the turkey or vegetables can make the roll-ups soggy. Make sure your turkey is well-drained and pat the celery dry with a paper towel before adding it to the mix.
Variations and Substitutions
This recipe is a fantastic base for your own creative twists. Here are a few of my family’s favorite variations.
- Spicy Southwest: Add a can of drained black beans, some corn, a dash of cumin, and a few spoonfuls of salsa to the filling. Swap the cheddar for pepper jack cheese for an extra kick.
- BBQ Chicken Style: Swap the turkey for shredded chicken and mix in some BBQ sauce instead of the Dijon mustard. Top with a little extra cheddar and serve with a side of ranch dressing for dipping.
- Veggie-Packed: Finely chop some spinach, bell peppers, or mushrooms and sauté them until soft before adding them to the turkey mixture. This is a great way to sneak in extra veggies for picky eaters.
Serving Suggestions
These roll-ups are wonderfully versatile. For a quick and easy weeknight dinner, serve them with a simple side salad or a bowl of warm tomato soup for dipping. They’re also fantastic for lunchboxes—just pack them warm or at room temperature with some fresh fruit and veggie sticks.
If you’re serving them as an appetizer for game day or a party, slice them into pinwheels and arrange them on a platter with a side of ranch dressing, honey mustard, or marinara sauce for dipping. They’re guaranteed to disappear in minutes!
FAQs
Can I use a different type of meat? Absolutely! This recipe works beautifully with shredded chicken, diced ham, or even leftover pot roast. Just make sure the meat is cooked and well-drained.
How long can I keep these in the freezer? Your freezer friendly turkey cheese roll-ups will stay fresh in the freezer for up to 3 months when stored properly in an airtight container or freezer-safe bag. Be sure to label them with the date!
What’s the best way to reheat them? The best way to reheat them is in the oven or an air fryer to keep the tortilla crispy. Bake from frozen at 375°F for 25-30 minutes, or reheat thawed roll-ups for 10-15 minutes. You can also microwave them, but the tortilla will be softer.
Final Thoughts
I hope these freezer friendly turkey cheese roll-ups bring as much joy to your table as they do to mine. They’re a simple, comforting reminder that great food doesn’t have to be complicated—it just has to be made with love. So, raid your fridge for those leftovers, get the kids involved, and fill your freezer with a little bit of homemade goodness. You’ll thank yourself on those busy nights when dinner is ready in a flash.
I hope you loved making these Freezer Friendly Turkey Cheese Roll-Ups—they’re melty, savory, and taste like a warm hug that makes even the busiest weeknight feel completely manageable. If you’re looking for more cozy family meals, be sure to check out my Hearty Chicken Noodle Soup, Creamy Tuscan Chicken Pasta, Cheesy Baked Ziti, and these comforting Slow Cooker Beef Stew recipes. They’re all perfect for filling your home with delicious aromas and happy hearts.
Join us on our Facebook Page and Facebook Group—and don’t forget to follow us on Pinterest for daily inspiration!
· American ·
How to Make the Best Freezer Friendly Turkey Cheese
These freezer friendly turkey cheese roll-ups are the ultimate make-ahead meal. Creamy, cheesy, and packed with flavor, they're perfect for busy weeknights and a fantastic way to use up leftover turkey.
Keep the screen of your device on while you follow the steps.
- Mix cream cheese, mayonnaise, Dijon mustard, garlic powder, salt, and pepper until smooth.
- Fold in turkey, cheddar cheese, celery, and fresh herbs until well combined.
- Place about 1/2 cup of filling in the center of each tortilla.
- Fold in the sides and roll up tightly like a burrito.
- For fresh baking, bake at 375°F for 15-20 minutes until golden and bubbly.
- For freezing, flash-freeze assembled roll-ups on a baking sheet for 1 hour.
- Transfer frozen roll-ups to a freezer-safe bag and store for up to 3 months.
- To bake from frozen, bake at 375°F for 25-30 minutes until heated through and golden.