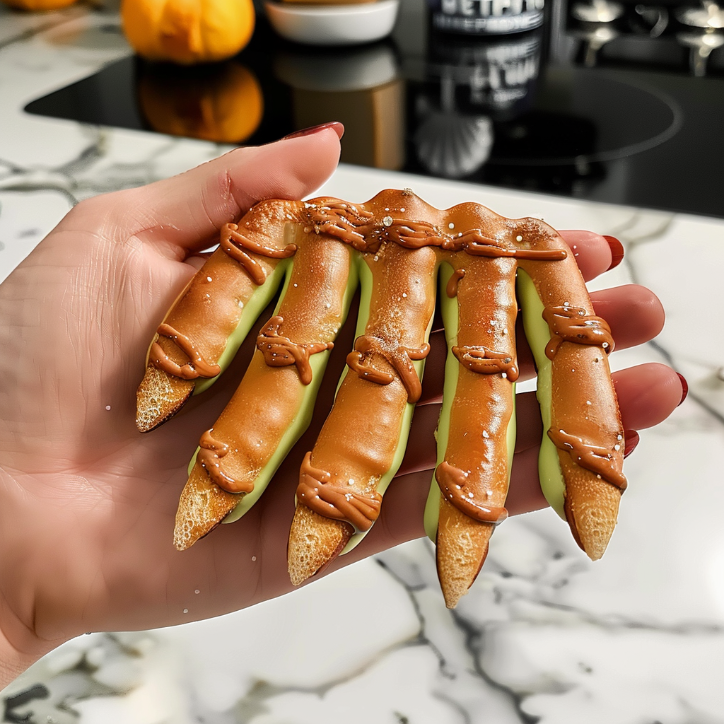
As the autumn leaves begin to fall and the air turns crisp in Chicago, my kitchen transforms into a haven of warmth and creativity. This time of year always reminds me of the Halloween parties my mother used to throw when I was a child. We’d spend hours in the kitchen, concocting spooky treats that delighted and terrified my friends in equal measure. One of my all-time favorites has to be the creepy witch finger pretzel. These eerie yet delicious snacks are not just a hit with my kids, Ella and Peter, but also a nostalgic nod to my childhood, filled with laughter and the gentle guidance of my grandmother Elizabeth, who was always the mastermind behind our most successful culinary experiments.
There’s something magical about turning a simple pretzel dough into something so fun and thematic. My Polish roots have always inspired me to embrace the art of baking, and this recipe is a perfect blend of American whimsy and European tradition. The creepy witch finger pretzel is a unique twist on the classic pretzel, shaped to resemble gnarled witch fingers, complete with almond “nails” and a sprinkle of sea salt that adds just the right amount of savory crunch.
Why You’ll Love This Recipe
The creepy witch finger pretzel is not only a visual treat but also a delight for the taste buds. These pretzels are crispy on the outside and soft on the inside, making them a perfect snack for Halloween parties or spooky movie nights. They’re easy to make, requiring just a few simple ingredients that you probably already have in your pantry. Plus, they’re a great way to get the kids involved in the kitchen, as shaping the dough into witch fingers is both fun and educational.
For those with dietary restrictions, this recipe can easily be adapted to be gluten-free by using a gluten-free flour blend. And if you’re looking to add a little extra nutrition, try incorporating whole wheat flour for a boost of fiber. These pretzels are also low in sugar, making them a healthier alternative to the typical Halloween candy overload.
Ingredients
- 2 1/4 teaspoons active dry yeast
- 1 1/2 cups warm water (110°F)
- 1 tablespoon sugar
- 1 teaspoon salt
- 4 cups all-purpose flour
- 1/4 cup baking soda
- 1 large egg, beaten
- Whole almonds (for nails)
- Coarse sea salt
Optional Substitutions:
- Use a gluten-free flour blend for a gluten-free version.
- Substitute whole wheat flour for added fiber and nutrition.
Step-by-Step Instructions
- In a large bowl, dissolve the yeast in warm water. Add the sugar and salt, stirring until dissolved. Let it sit for about 5 minutes until the mixture becomes frothy.
- Gradually add the flour, one cup at a time, mixing until a dough forms. Knead the dough on a floured surface for about 5-7 minutes until smooth and elastic.
- Place the dough in a greased bowl, cover it with a damp cloth, and let it rise in a warm place for about 1 hour or until it doubles in size.
- Preheat your oven to 450°F (232°C). Line a baking sheet with parchment paper.
- In a large pot, bring 10 cups of water to a boil. Add the baking soda carefully.
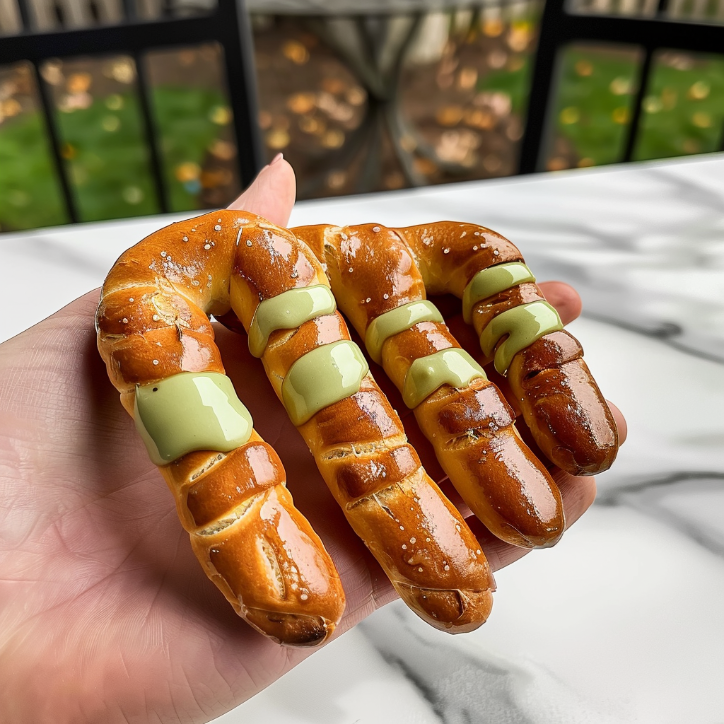
- Punch down the risen dough and divide it into 16 equal pieces. Roll each piece into a long, thin rope, then shape into a finger by pinching and shaping the dough to create knuckles and joints.
- Dip each shaped finger into the boiling baking soda water for about 30 seconds, then transfer to the prepared baking sheet.
- Brush each finger with the beaten egg, press an almond into the tip to form a nail, and sprinkle with coarse sea salt.
- Bake in the preheated oven for 12-15 minutes, or until golden brown.
What Makes This Recipe Special
- Quick and easy to prepare
- Packed with flavor and nutrition
- Perfect for any occasion
- Customizable to your taste preferences
- Budget-friendly ingredients
Expert Tips for Success
For the best results, make sure your water is the right temperature when activating the yeast. Too hot, and it will kill the yeast; too cold, and it won’t activate properly. A thermometer can be a handy tool here.

YOUR COMPLETE RECIPE COLLECTION
Stop Searching for Meal Ideas—Get 50+ Delicious Recipes in One E-Book
Get the complete recipe e-book and discover delicious meal ideas collected in one convenient place.
Discover All 50+ RecipesWhen shaping the dough, don’t worry about making each finger perfect. The more irregular and gnarly they look, the better! This adds to the creepy effect.
Be cautious when adding baking soda to the boiling water, as it can cause the water to bubble up rapidly. Add it slowly and stir gently.
Variations and Substitutions
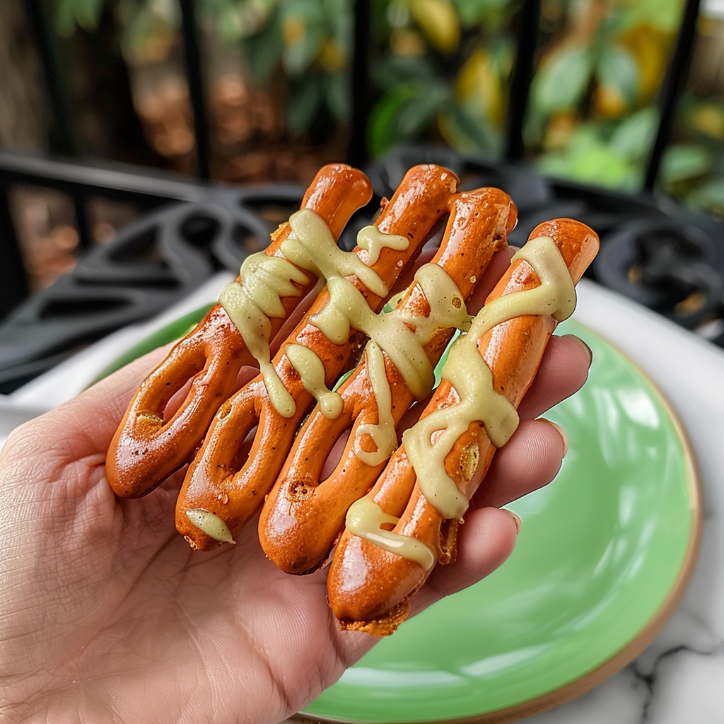
To add a bit of color and flavor, you can mix a few drops of green food coloring into the dough to give the fingers a more witch-like appearance.
For a sweet twist, skip the sea salt and sprinkle cinnamon sugar on top after brushing with the egg wash. This will give you a sweet version of the creepy witch finger pretzel, perfect for those with a sweet tooth.
Serving Suggestions
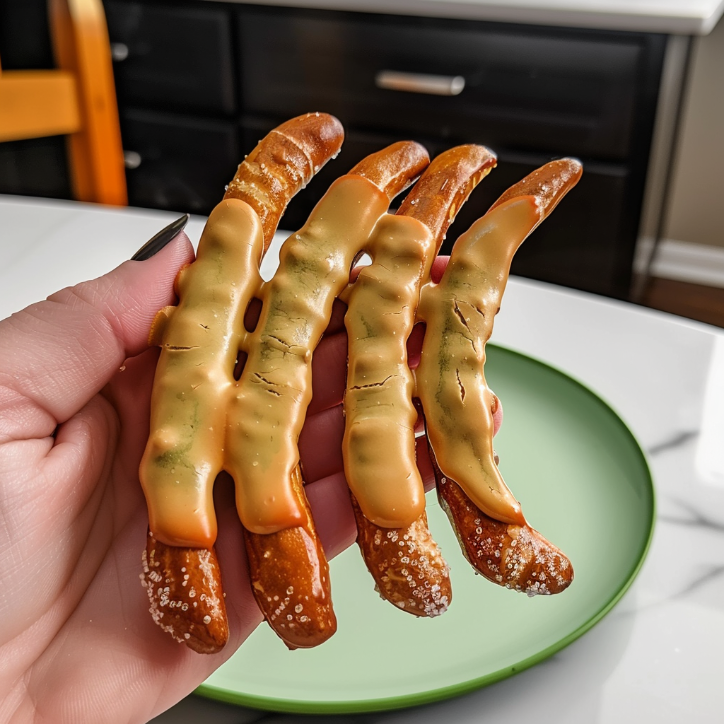
These creepy witch finger pretzels are best served warm, straight from the oven. Pair them with a cheesy dip or a spicy mustard for a savory snack that’s sure to impress. For a Halloween party, serve them alongside a bubbling cauldron of punch or a platter of spooky-themed appetizers.
FAQs
Can I make the dough ahead of time?
Yes, you can prepare the dough a day in advance and let it rise in the refrigerator overnight. Just bring it to room temperature before shaping and baking.
What if I don’t have almonds?
If you don’t have almonds on hand, you can use pumpkin seeds or even small pieces of pretzel sticks for the nails.
How do I store leftovers?
Store any leftover pretzels in an airtight container at room temperature for up to 3 days. To reheat, simply place them in a preheated oven at 350°F for 5-7 minutes.
Final Thoughts
These creepy witch finger pretzels are a delightful way to add some spooky fun to your Halloween celebrations. They’re easy to make, delicious to eat, and a wonderful way to involve the whole family in the kitchen. I hope this recipe brings as much joy to your home as it has to mine over the years. Happy Halloween, and happy baking!
Dynamic Related Recipe Section
I hope you enjoyed making these creepy witch finger pretzels—they’re a spooky and scrumptious addition to any Halloween gathering. If you’re in the mood for more festive treats, why not try my Spooky Spider Cookies, Pumpkin Spice Latte Cake, or Ghostly Marshmallow Pops? Each recipe is packed with flavor and fun, perfect for creating lasting memories with your loved ones. Join us on our Facebook Page and Facebook Group — and don’t forget to follow on Pinterest for daily inspiration!
Main Course · American · Medium
Creepy Witch Finger Pretzel Your Family Will Love
These creepy witch finger pretzels are a spooky and fun treat perfect for Halloween, combining crispy pretzel texture with a whimsical twist.
Keep the screen of your device on while you follow the steps.
- Dissolve yeast in warm water, add sugar and salt, let sit until frothy.
- Add flour gradually, knead until smooth and elastic.
- Let dough rise in a greased bowl for 1 hour.
- Preheat oven to 450°F, line a baking sheet with parchment paper.
- Boil 10 cups of water, add baking soda carefully.
- Shape dough into 16 fingers, dip in boiling water for 30 seconds.
- Transfer to baking sheet, brush with egg, add almond nails, sprinkle salt.
- Bake for 12-15 minutes until golden brown.