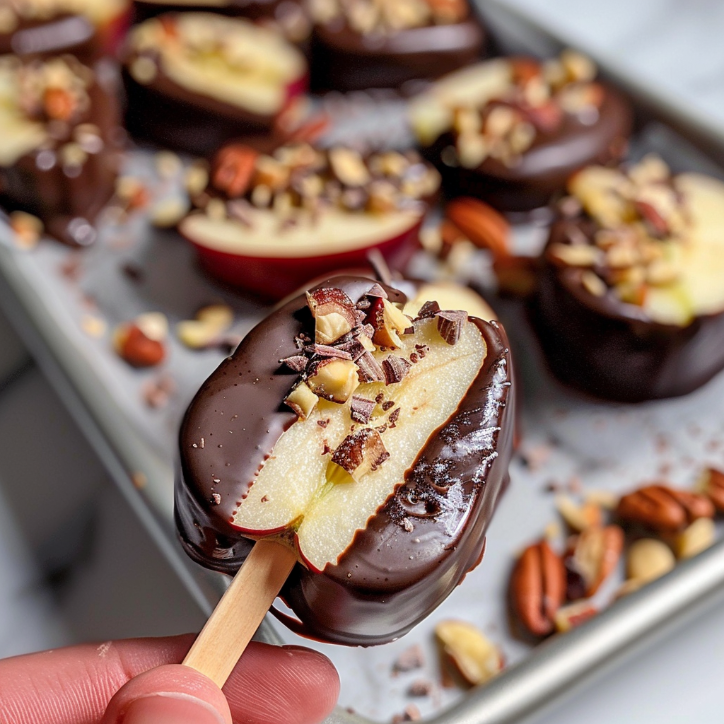
Growing up in Chicago, the fall was always a magical time for me. The streets would be lined with golden leaves, and the air carried that crisp, sweet scent of apples that seemed to signal the start of the cozy season. My babcia, Elizabeth, was the queen of apple desserts, and her kitchen was a haven of warmth and laughter. One of my favorite memories is helping her make apple slices dipped in chocolate. We’d sit together, chatting about everything and nothing, as we crafted these delightful treats. Fast forward to today, and I’ve put a little twist on that cherished memory with my own version: Chocolate Apple Slice Pops. These are not just a nod to my Polish roots but a celebration of family, creativity, and the joy of simple pleasures.
Why You’ll Love This Recipe
Chocolate Apple Slice Pops are the perfect blend of nostalgia and innovation. They’re incredibly easy to make, requiring just a handful of ingredients and minimal prep time. The combination of crisp apple slices with a rich chocolate coating is a match made in heaven. Plus, they’re a healthier alternative to traditional candy apples, offering a natural sweetness without the added sugars. Whether you’re looking for a fun activity with the kids or a unique treat for a fall gathering, these pops are sure to be a hit.
Ingredients
- 2 large apples (Granny Smith or Honeycrisp work well)
- 1 cup of semi-sweet chocolate chips
- 1 tablespoon of coconut oil
- Assorted toppings such as chopped nuts, sprinkles, or shredded coconut
- Popsicle sticks or skewers
Optional Substitutions and Notes
- For a dairy-free option, use dark chocolate chips.
- Feel free to experiment with different apple varieties for a unique flavor.
Step-by-Step Instructions
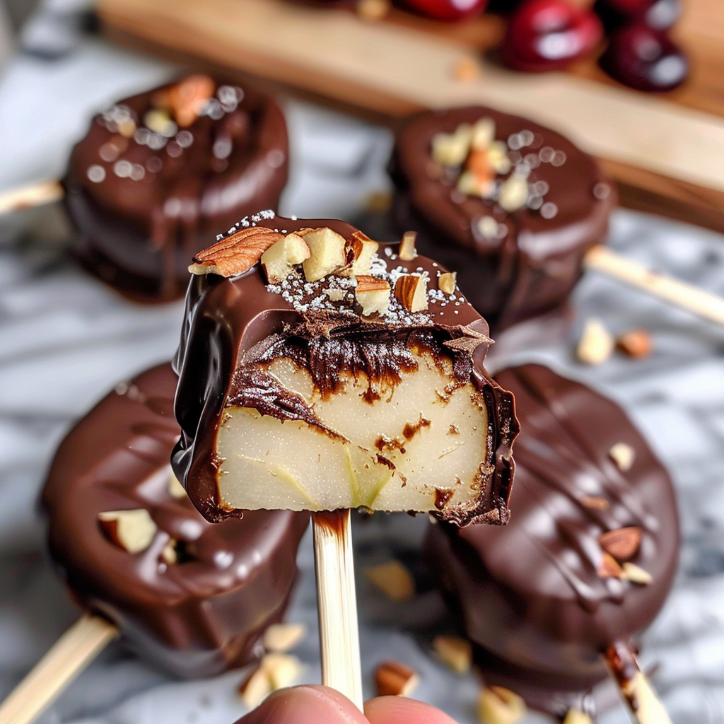
- Wash and dry the apples thoroughly. Slice each apple into 1/2-inch thick rounds, removing any seeds.
- Insert a popsicle stick into the base of each apple slice, ensuring it’s secure.
- In a microwave-safe bowl, combine the chocolate chips and coconut oil. Heat in 30-second intervals, stirring in between, until the chocolate is smooth and fully melted.
- Dip each apple slice into the melted chocolate, allowing any excess to drip off.
- Immediately sprinkle your choice of toppings over the chocolate-coated apple slices.
- Place the pops on a baking sheet lined with parchment paper.
- Refrigerate for at least 30 minutes or until the chocolate has set.
What Makes This Recipe Special
- Quick and easy to prepare
- Packed with flavor and nutrition
- Perfect for any occasion
- Customizable to your taste preferences
- Budget-friendly ingredients
Expert Tips for Success
- Ensure the apples are completely dry before dipping to prevent the chocolate from seizing.
- Use a fork to help lift the apple slices out of the chocolate for a cleaner finish.
- Don’t rush the cooling process; letting the chocolate set properly will give a better texture.
Variations and Substitutions
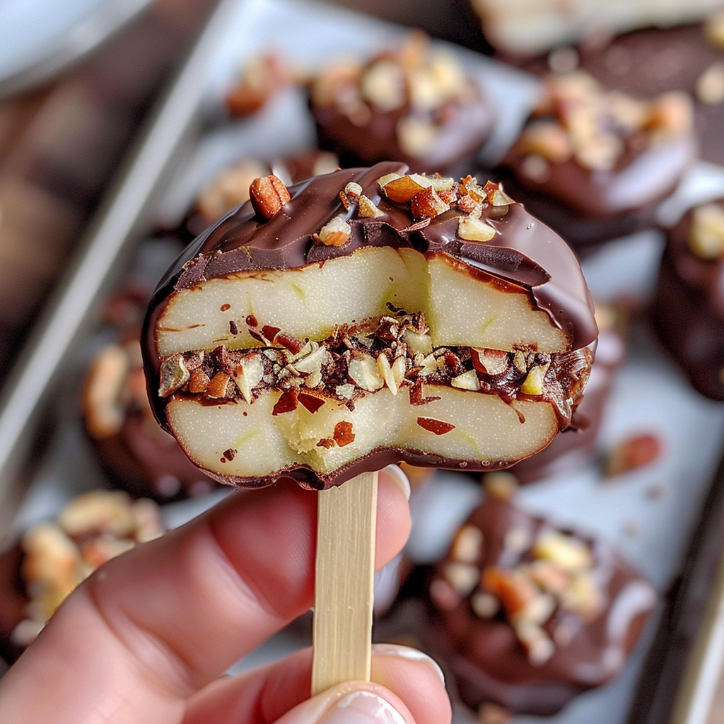
- For a nutty twist, try adding a layer of peanut butter before dipping in chocolate.
- Sprinkle sea salt over the chocolate for a sweet and salty combination.
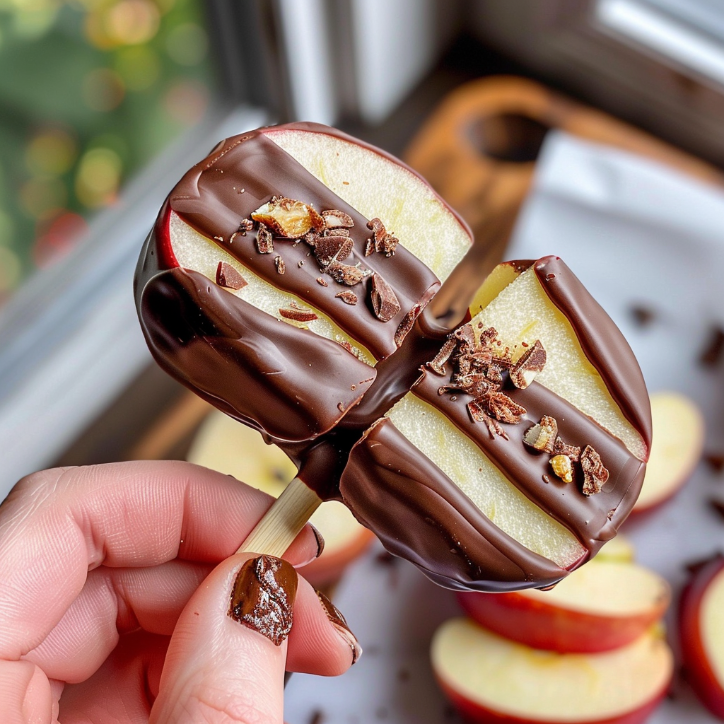
- Experiment with white chocolate and drizzle it over the dark chocolate for a marbled effect.
Serving Suggestions
These Chocolate Apple Slice Pops are perfect for fall parties, Halloween gatherings, or as a fun after-school snack. Serve them alongside a warm cup of apple cider or a chai latte for the ultimate autumn treat. They also pair wonderfully with a cheese platter, offering a sweet contrast to savory flavors.
FAQs
Can I make these pops ahead of time?
Yes, you can prepare them a day in advance. Just store them in an airtight container in the refrigerator.
What if my chocolate seizes?
If your chocolate seizes, add a bit more coconut oil and gently reheat it, stirring continuously until smooth.
Final Thoughts
Making Chocolate Apple Slice Pops is more than just creating a delicious treat; it’s about crafting memories and sharing joy with loved ones. I hope this recipe brings a little slice of happiness to your home, just as it does to mine. Whether you’re reminiscing about childhood days or creating new traditions, these pops are a delightful way to celebrate the season.

YOUR COMPLETE RECIPE COLLECTION
Stop Searching for Meal Ideas—Get 50+ Delicious Recipes in One E-Book
Get the complete recipe e-book and discover delicious meal ideas collected in one convenient place.
Discover All 50+ RecipesDynamic Related Recipe Section
I hope you enjoyed making these Chocolate Apple Slice Pops—they’re like a hug wrapped in chocolate! If you’re in the mood for more sweet treats, why not try my Chocolate Chip Cookies or my Apple Pie Bars? For something a little different, my Pumpkin Spice Muffins are a fall favorite, and if you’re a fan of fruity desserts, my Berry Crumble is a must-try. Join us on our Facebook Page and Facebook Group — and don’t forget to follow on Pinterest for daily inspiration!
Main Course · American · Medium
Chocolate Apple Slice Pops for Dinner Tonight
Crisp apple slices dipped in rich chocolate and adorned with your favorite toppings, perfect for a fall treat.
Keep the screen of your device on while you follow the steps.
- Wash and dry the apples thoroughly. Slice each apple into 1/2-inch thick rounds, removing any seeds.
- Insert a popsicle stick into the base of each apple slice, ensuring it's secure.
- In a microwave-safe bowl, combine the chocolate chips and coconut oil. Heat in 30-second intervals, stirring in between, until the chocolate is smooth and fully melted.
- Dip each apple slice into the melted chocolate, allowing any excess to drip off.
- Immediately sprinkle your choice of toppings over the chocolate-coated apple slices.
- Place the pops on a baking sheet lined with parchment paper.
- Refrigerate for at least 30 minutes or until the chocolate has set.