Introduction
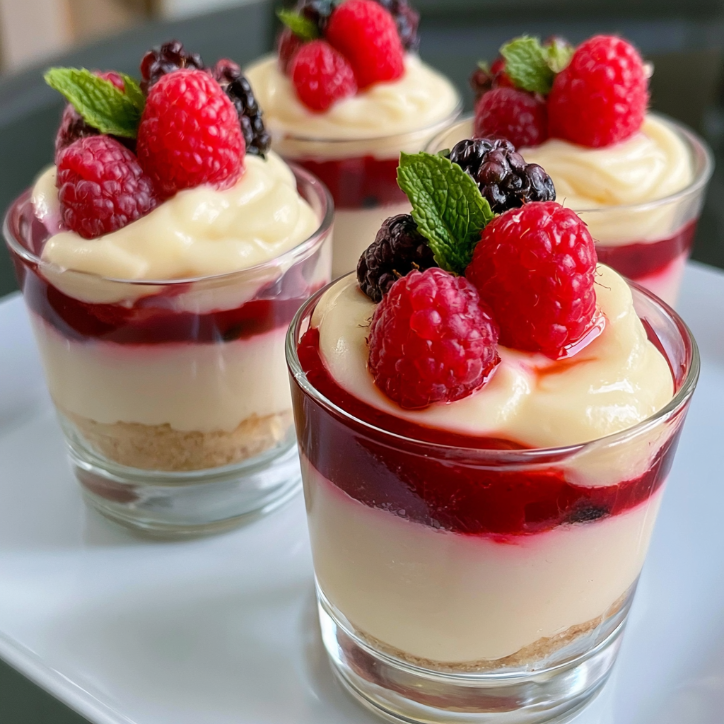
Every time I make these mini dessert cups, I’m transported straight back to my babcia’s kitchen in Chicago, where the smell of vanilla and fresh fruit always meant something special was happening. Growing up in a Polish-American household, dessert wasn’t just food—it was a celebration of family, love, and togetherness. Now, as a mom to Ella and Peter, I love recreating that magic with my own twist. These little layered treats are perfect for busy weeknights, birthday parties, or just because. They’re simple, gorgeous, and absolutely delicious, and I know your family will adore them as much as mine does.
Why You’ll Love This Recipe
These mini dessert cups are the ultimate crowd-pleaser because they’re incredibly easy to assemble and require no special baking skills. You can whip them up in under 20 minutes with just a handful of ingredients, and they look like you spent hours in the kitchen. They’re perfect for parties, potlucks, or a fun weekend project with the kids. Plus, they’re completely customizable—you can switch up the flavors, fruits, and toppings to suit any occasion or craving.
What I love most is how versatile they are. Whether you’re craving something light and fruity or rich and chocolatey, these cups deliver. They’re also great for making ahead of time, which is a lifesaver when you’re hosting. And let’s be honest—who doesn’t love a dessert that’s both beautiful and delicious? These little cups are guaranteed to bring smiles to everyone’s faces, and they’re the perfect way to end any meal on a sweet note.
Ingredients
Here’s everything you’ll need to create these delightful mini dessert cups. I’ve included some notes and substitutions to make the recipe even easier for you.
- 1 cup heavy cream – For the whipped cream layer. You can substitute with coconut cream for a dairy-free option.
- 2 tablespoons powdered sugar – To sweeten the cream. Adjust to taste.
- 1 teaspoon vanilla extract – Pure vanilla adds the best flavor.
- 1 cup crushed graham crackers – For a crunchy base. You can use crushed cookies or even granola.
- 1 cup fresh berries – Strawberries, blueberries, or raspberries work beautifully. Frozen berries can be used if thawed and drained.
- 1 cup vanilla pudding – Instant pudding works great. You can also use homemade pudding or Greek yogurt for a healthier twist.
- Optional toppings – Chocolate shavings, mint leaves, or a drizzle of caramel sauce.
These ingredients are simple, but together they create something truly magical. Feel free to mix and match based on what you have on hand.
Step-by-Step Instructions
Follow these easy steps to create your mini dessert cups. It’s so simple, you’ll want to make them again and again.

YOUR COMPLETE RECIPE COLLECTION
Stop Searching for Meal Ideas—Get 50+ Delicious Recipes in One E-Book
Get the complete recipe e-book and discover delicious meal ideas collected in one convenient place.
Discover All 50+ Recipes- Whip the cream: In a chilled bowl, beat the heavy cream, powdered sugar, and vanilla extract until stiff peaks form. This should take about 3-4 minutes. Be careful not to overbeat, or you’ll end up with butter!
- Prepare the layers: Crush your graham crackers into fine crumbs. If using fresh berries, wash and slice them into small pieces.
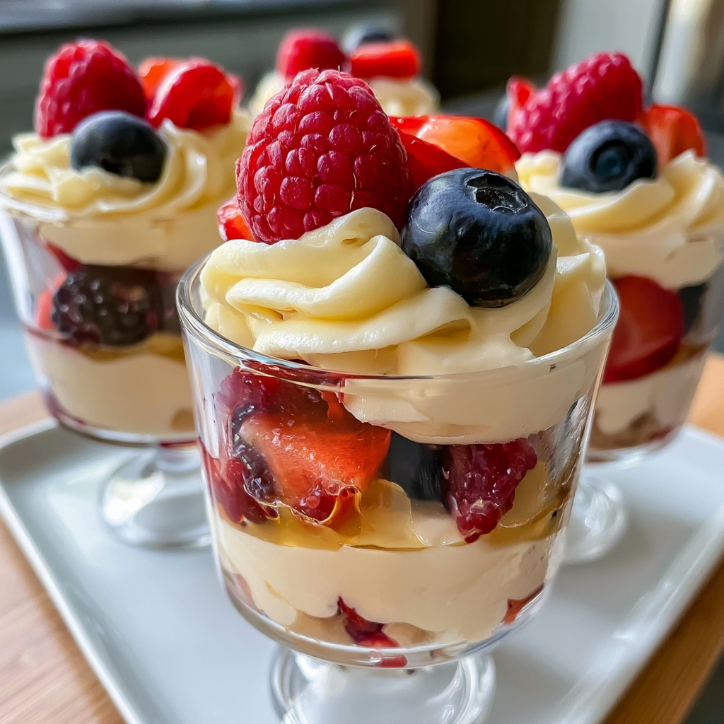
- Assemble the cups: Start by adding a layer of graham cracker crumbs at the bottom of each small cup or jar. Press down gently to create a firm base.
- Add the pudding: Spoon a layer of vanilla pudding over the crumbs, spreading it evenly. You can use a piping bag for a cleaner look.
- Top with whipped cream: Add a generous dollop of whipped cream on top of the pudding layer.
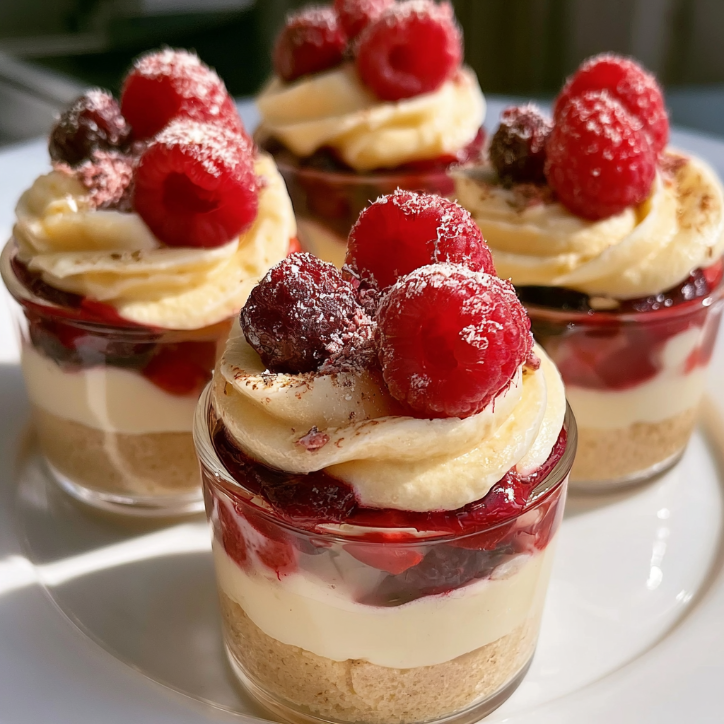
- Finish with berries: Garnish with fresh berries and any optional toppings like chocolate shavings or mint leaves.
- Chill and serve: Refrigerate the cups for at least 30 minutes before serving. This helps the layers set and makes them easier to eat.
That’s it! In just a few simple steps, you’ll have beautiful, delicious mini dessert cups that everyone will love.
What Makes This Recipe Special
- ✓Quick and easy to prepare
- ✓Packed with flavor and nutrition
- ✓Perfect for any occasion
- ✓Customizable to your taste preferences
- ✓Budget-friendly ingredients
Expert Tips for Success
To make sure your mini dessert cups turn out perfectly every time, here are a few tips I’ve learned along the way.
- Chill your bowl and beaters: For the best whipped cream, make sure your bowl and beaters are cold. You can even pop them in the freezer for 10 minutes before whipping.
- Layer with care: Use a spoon or piping bag to layer the ingredients neatly. This not only looks better but also ensures every bite has a bit of everything.
- Don’t overmix: When whipping the cream, stop as soon as stiff peaks form. Overmixing can cause the cream to become grainy and lose its fluffiness.
These simple tips will help you avoid common pitfalls and create picture-perfect dessert cups every time.
Variations and Substitutions
One of the best things about this recipe is how flexible it is. Here are a few fun variations to try.
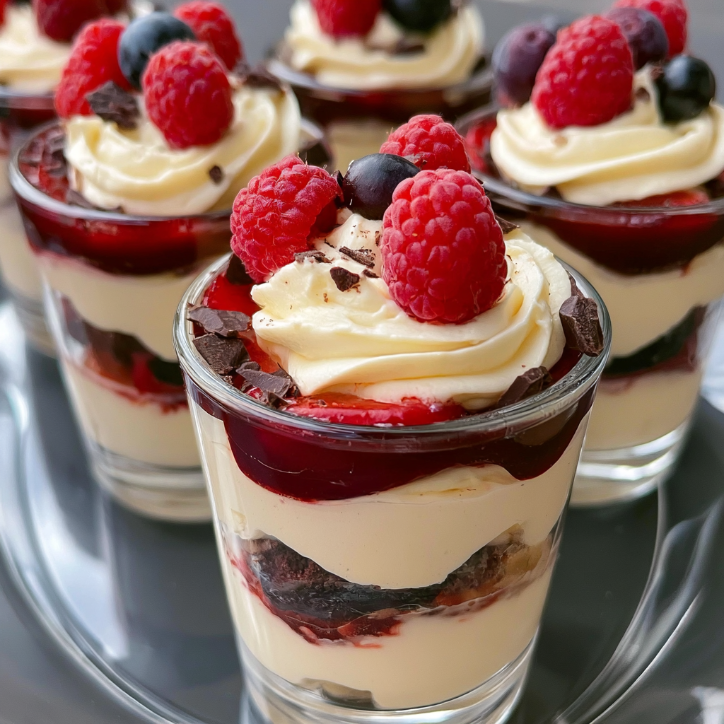
- Chocolate Lovers: Swap the vanilla pudding for chocolate pudding and add a layer of chocolate shavings. You can also use crushed Oreos instead of graham crackers.
- Citrus Fresh: Add a layer of lemon curd or orange zest to the pudding for a bright, tangy twist. This pairs beautifully with fresh blueberries or raspberries.
- Healthy Option: Use Greek yogurt instead of pudding and granola instead of graham crackers. Top with a drizzle of honey for a guilt-free treat.
Feel free to get creative and make these cups your own. The possibilities are endless!
Serving Suggestions
These mini dessert cups are perfect for any occasion. Serve them at birthday parties, baby showers, or holiday gatherings—they’re always a hit. You can also make them for a fun family dessert night or a romantic treat for two.
Pair them with a cup of coffee, tea, or a glass of cold milk. For an extra special touch, serve them with a side of fresh fruit or a drizzle of chocolate sauce. No matter how you serve them, they’re sure to be a crowd-pleaser.
FAQs
Can I make these mini dessert cups ahead of time?
Absolutely! You can assemble the cups up to 24 hours in advance. Just keep them covered in the refrigerator and add the whipped cream and berries right before serving to keep everything fresh and vibrant.
How do I store leftovers?
Store any leftover cups in an airtight container in the refrigerator for up to 2 days. Keep in mind that the graham cracker layer may soften over time, but they’ll still taste delicious.
Can I use frozen berries?
Yes, frozen berries work well in this recipe. Just make sure to thaw and drain them thoroughly before using to avoid excess moisture in the cups.
Final Thoughts
I hope you love these mini dessert cups as much as my family does. They’re simple, versatile, and absolutely delicious—everything a great dessert should be. Whether you’re making them for a special occasion or just because, they’re sure to bring a little sweetness to your day. So grab your ingredients, get the kids involved, and have fun creating these delightful treats. Don’t forget to share your creations with me—I’d love to see how they turn out!
I hope you loved making these mini dessert cups—they’re sweet, creamy, and taste like a little hug in a cup that makes any day feel special. If you enjoyed this recipe, you might also love my Blueberry Banana Overnight Oats for a quick breakfast, Classic Chocolate Chip Cookies for a timeless treat, Creamy Chicken Pasta for a cozy dinner, or Hearty Vegetable Soup for a comforting meal. Each one is made with love and a little bit of Chicago magic!
Join us on our Facebook Page and Facebook Group—and don’t forget to follow us on Pinterest for daily inspiration!
· American ·
Best Ever Mini Dessert Cups
Easy and delicious layered mini dessert cups with whipped cream, vanilla pudding, and fresh berries. Perfect for parties and family gatherings.
Keep the screen of your device on while you follow the steps.
- Whip heavy cream, powdered sugar, and vanilla until stiff peaks form.
- Crush graham crackers into fine crumbs and prepare berries.
- Layer graham cracker crumbs at the bottom of each cup.
- Add a layer of vanilla pudding over the crumbs.
- Top with a generous dollop of whipped cream.
- Garnish with fresh berries and optional toppings.
- Chill for at least 30 minutes before serving.