
Growing up in the bustling city of Chicago, my childhood was filled with the comforting aroma of chocolate wafting through our cozy kitchen. My babcia, with her gentle hands and loving smile, was always at the heart of these chocolate-filled memories. She had a knack for turning the simplest ingredients into something magical, and her chocolate mousse cups were nothing short of a culinary masterpiece. These delightful treats were a staple at our family gatherings, often served alongside her famous apple cake, which my grandmother Elizabeth would bake. As a Polish-American, I cherish these moments that blend tradition with a touch of modern creativity. Now, as a mother of two energetic kids, Ella and Peter, I find joy in recreating these chocolate mousse cups, adding my own twist while keeping the essence of babcia’s recipe alive.
Why You’ll Love This Recipe
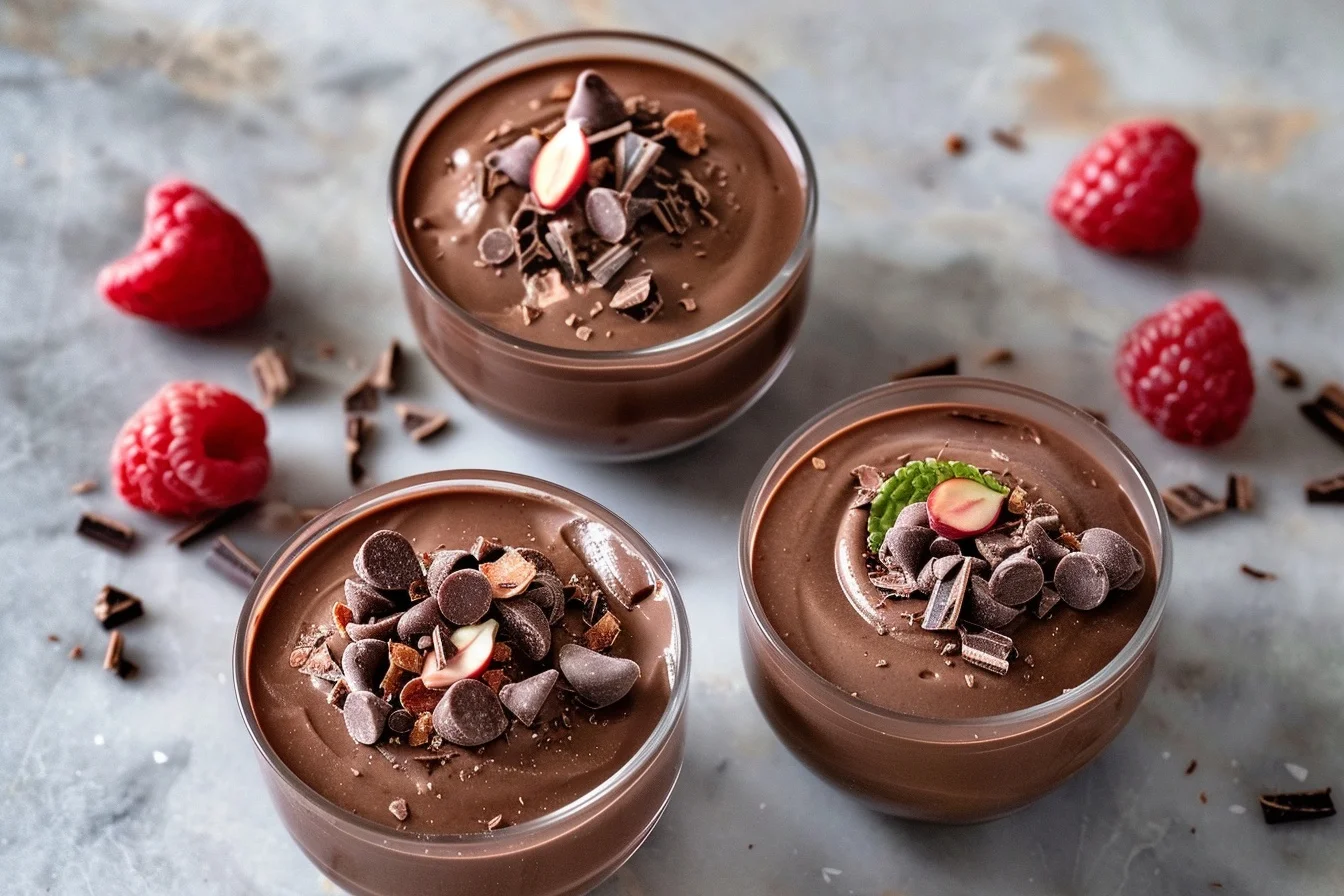
These chocolate mousse cups are the perfect blend of rich, creamy chocolate and light, airy texture that will melt in your mouth. They are incredibly easy to make, requiring just a few simple ingredients and minimal prep time, which is a lifesaver for busy parents like me. Plus, they’re gluten-free, making them a great option for those with dietary restrictions. Whether you’re hosting a dinner party or simply want to indulge in a sweet treat, these mousse cups are sure to impress.
Ingredients
- 200g dark chocolate, chopped
- 3 large eggs, separated
- 1/4 cup granulated sugar
- 1 cup heavy cream
- 1 teaspoon vanilla extract
- Pinch of salt
- Optional: Fresh berries and mint leaves for garnish

Step-by-Step Instructions
- Begin by melting the dark chocolate in a heatproof bowl over a pot of simmering water. Stir occasionally until smooth, then remove from heat and let it cool slightly.
- In a separate bowl, whisk the egg yolks with the sugar until pale and creamy. Stir in the melted chocolate and vanilla extract.
- In another bowl, beat the egg whites with a pinch of salt until stiff peaks form. Gently fold the egg whites into the chocolate mixture in three additions, being careful not to deflate the mixture.
- In a chilled bowl, whip the heavy cream until soft peaks form. Carefully fold the whipped cream into the chocolate mixture until fully incorporated.
- Spoon the mousse into individual cups or ramekins and refrigerate for at least 2 hours, or until set.
- Before serving, garnish with fresh berries and mint leaves if desired.
What Makes This Recipe Special
- Quick and easy to prepare
- Packed with flavor and nutrition
- Perfect for any occasion
- Customizable to your taste preferences
- Budget-friendly ingredients
Expert Tips for Success
For the best results, ensure that your chocolate is completely melted and smooth before mixing it with the egg yolks. This will help achieve a silky texture in the mousse. When folding the egg whites and cream into the chocolate mixture, use a gentle hand to maintain the airy consistency. If you’re feeling adventurous, try adding a splash of your favorite liqueur to the chocolate for an adult twist.
Cooking Tools
When I make these chocolate mousse cups, a few simple tools always make prep faster and cleaner. My go-to tool is the Silicone Utensils Set, perfect for folding and mixing without scratching my bowls. A reliable MOSFiATA 8″ Professional Chef’s Knife is essential for chopping chocolate smoothly. And for that perfect whipped cream, I trust my trusty whisk from the LeMuna Silicone Utensils Set.

Variations and Substitutions
Feel free to experiment with different types of chocolate, such as milk or white chocolate, for a sweeter or creamier version. For a dairy-free option, substitute the heavy cream with coconut cream. You can also add a pinch of cinnamon or chili powder for a spicy kick, or fold in some finely chopped nuts for added texture.
Serving Suggestions
These chocolate mousse cups are best enjoyed chilled, making them a refreshing dessert on a warm day. Serve them with a side of fresh fruit or a dollop of whipped cream for extra indulgence. Pair with a glass of dessert wine or a cup of freshly brewed coffee for a delightful end to your meal.

FAQs
Can I make these chocolate mousse cups ahead of time?
Absolutely! These mousse cups can be made a day in advance and stored in the refrigerator until ready to serve. Just be sure to cover them with plastic wrap to prevent them from absorbing any odors.
How do I know when the mousse is set?
The mousse is set when it holds its shape and has a firm, yet creamy texture. It should not be runny or overly stiff.
Final Thoughts
Making these chocolate mousse cups is like taking a delicious trip down memory lane. I hope you enjoy making them as much as I do, and that they bring a touch of sweetness to your day. Remember to share your creations with friends and family, and savor each spoonful with love and laughter.
👉 I hope you loved making these Chocolate Mousse Cups—they’re a sweet, creamy delight that’s sure to become a family favorite. If you’re in the mood for more dessert inspiration, why not try my Classic Polish Apple Cake, Rich Chocolate Brownies, or Lemon Cheesecake Bars? Join us on our Facebook Page and Facebook Group — and don’t forget to follow on Pinterest for daily inspiration!
· ·
Easy Chocolate Mousse Cups: 6 Rich Recipes to Savor
Rich, creamy chocolate mousse cups that are easy to make and perfect for any occasion.
Keep the screen of your device on while you follow the steps.
- Begin by melting the dark chocolate in a heatproof bowl over a pot of simmering water. Stir occasionally until smooth, then remove from heat and let it cool slightly.
- In a separate bowl, whisk the egg yolks with the sugar until pale and creamy. Stir in the melted chocolate and vanilla extract.
- In another bowl, beat the egg whites with a pinch of salt until stiff peaks form. Gently fold the egg whites into the chocolate mixture in three additions, being careful not to deflate the mixture.
- In a chilled bowl, whip the heavy cream until soft peaks form. Carefully fold the whipped cream into the chocolate mixture until fully incorporated.
- Spoon the mousse into individual cups or ramekins and refrigerate for at least 2 hours, or until set.
- Before serving, garnish with fresh berries and mint leaves if desired.