
There’s something magical about the way a sweet, tangy dessert can transport you back to cherished memories. Growing up in Chicago, my kitchen was a hub of laughter and love, with the aroma of freshly baked treats wafting through the air. My babcia, with her thick Polish accent and warm hugs, would often have us gathered around her, eager to learn her baking secrets. One of my all-time favorites was her cheesecake, a creamy delight that seemed to melt in your mouth. Inspired by those moments, I’ve crafted a modern twist on her classic recipe: bake strawberry cheesecake jars. These little treasures are not only perfect for portion control but also a delightful way to bring a touch of nostalgia to any gathering.
Why bake strawberry cheesecake jars, you ask? Well, they combine the rich, velvety texture of traditional cheesecake with the convenience of individual servings. Plus, who can resist the vibrant pop of strawberries layered on top? This recipe is a nod to my roots, blending the comforting flavors of my childhood with a playful, contemporary twist.
Why You’ll Love This Recipe
These bake strawberry cheesecake jars are a dream come true for dessert lovers. They’re:
- Easy to make: With simple steps and minimal equipment, this recipe is perfect for both novice and experienced bakers.
- Perfectly portioned: Individual jars mean no more messy slicing and precise servings every time.
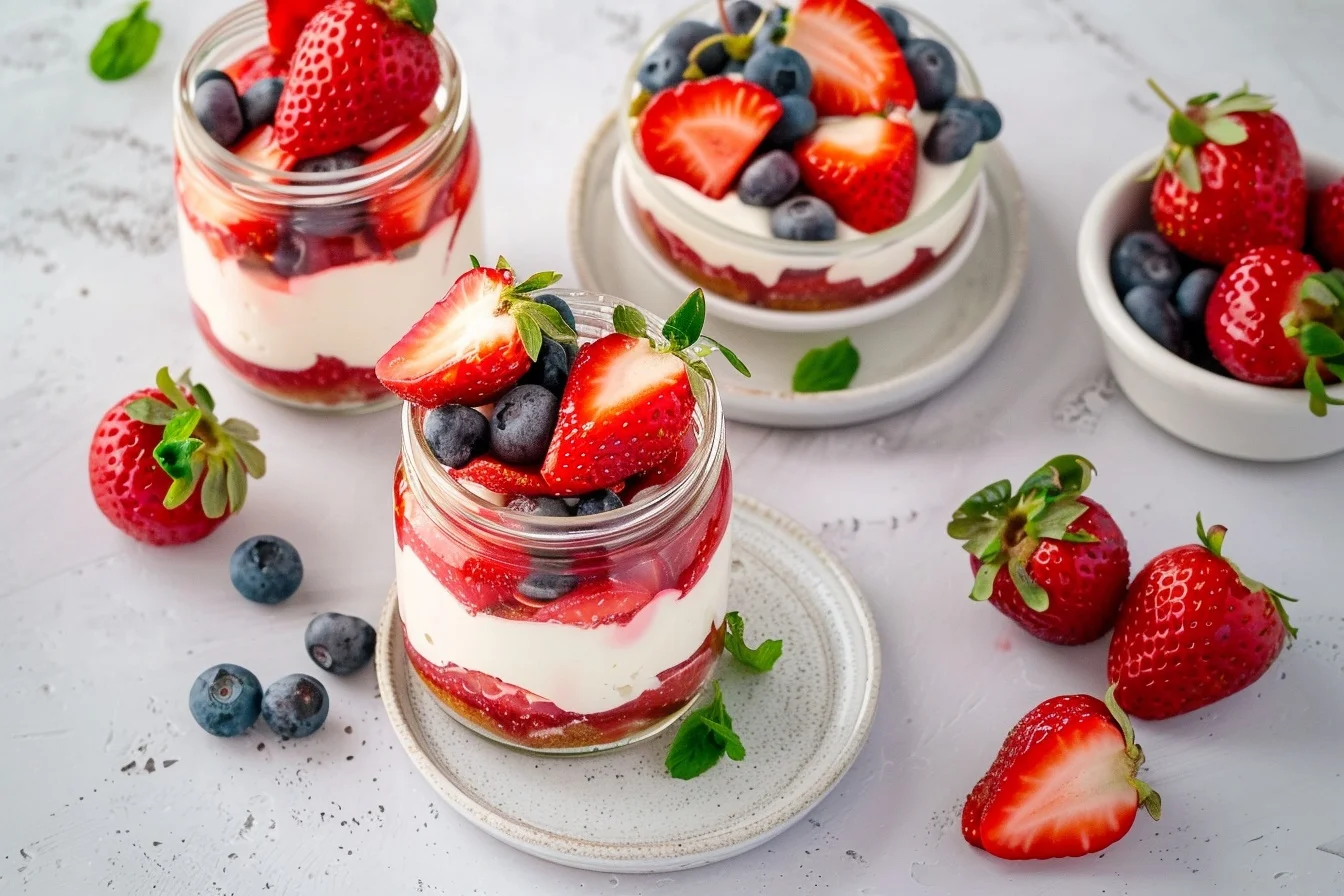
- Visually stunning: The layers of creamy cheesecake and vibrant strawberries create an eye-catching dessert that’s sure to impress.
- Customizable: You can easily swap out the strawberries for your favorite berries or add a dash of lemon zest for a citrusy kick.
- Great for gatherings: These jars are portable and easy to serve, making them ideal for picnics, parties, or just a cozy night in with family.
Ingredients
To create these delightful bake strawberry cheesecake jars, you’ll need the following ingredients:
- 1 cup graham cracker crumbs
- 2 tablespoons granulated sugar
- 1/4 cup unsalted butter, melted
- 16 oz cream cheese, softened
- 1/2 cup granulated sugar
- 2 large eggs
- 1 teaspoon vanilla extract
- 1 cup fresh strawberries, hulled and sliced
- 1 tablespoon lemon juice
- 1 tablespoon cornstarch
- 1/4 cup water

Step-by-Step Instructions
- Prepare the crust: In a bowl, combine graham cracker crumbs, 2 tablespoons of sugar, and melted butter. Mix until the crumbs are evenly coated.
- Assemble the jars: Divide the crust mixture evenly among 8 small mason jars, pressing it down gently to form a firm base.
- Make the cheesecake filling: In a large mixing bowl, beat the cream cheese until smooth. Add 1/2 cup of sugar, eggs, and vanilla extract, and continue to beat until well combined and creamy.
- Fill the jars: Spoon the cheesecake mixture over the crust in each jar, filling them about 3/4 full.
- Bake: Preheat your oven to 325°F (163°C). Place the jars in a baking dish and fill the dish with hot water until it reaches halfway up the sides of the jars. Bake for 25-30 minutes or until the centers are set.
- Prepare the strawberry topping: In a saucepan, combine strawberries, lemon juice, cornstarch, and water. Cook over medium heat, stirring frequently, until the mixture thickens and the strawberries are soft.
- Top the cheesecakes: Once the cheesecakes have cooled, spoon the strawberry topping over each jar.
- Chill: Refrigerate the jars for at least 2 hours or until fully set.
What Makes This Recipe Special
- Quick and easy to prepare
- Packed with flavor and nutrition
- Perfect for any occasion
- Customizable to your taste preferences
- Budget-friendly ingredients
Expert Tips for Success
- Room temperature ingredients: Ensure your cream cheese and eggs are at room temperature for a smoother cheesecake filling.
- Avoid overbaking: Keep an eye on the cheesecakes in the oven. They should be set but still slightly jiggly in the center.
- Water bath: The water bath helps prevent cracks by providing gentle, even heat.
Cooking Tools
When I make this recipe, my go-to tool is a trusty MOSFiATA 8″ Professional Chef’s Knife for slicing strawberries with precision. A Silicone Utensils Set is also handy for mixing the cheesecake batter smoothly without scratching the bowls.

Variations and Substitutions
Feel free to get creative with your bake strawberry cheesecake jars:
- Berry swap: Use blueberries, raspberries, or blackberries instead of strawberries for a different flavor profile.
- Nut crust: Substitute crushed nuts like almonds or pecans for a nutty twist on the crust.
- Gluten-free option: Use gluten-free graham crackers for a celiac-friendly dessert.
Serving Suggestions
These cheesecake jars are delightful on their own, but you can elevate the experience by serving them with a dollop of whipped cream or a sprinkle of crushed nuts. Pair them with a glass of chilled rosé or a warm cup of herbal tea for a truly indulgent treat.

FAQs
Can I make these cheesecake jars ahead of time?
Absolutely! These jars can be made up to two days in advance. Just keep them refrigerated until you’re ready to serve.
How do I prevent my cheesecake from cracking?
Ensure your ingredients are at room temperature and avoid overbaking. The water bath also helps maintain a smooth, crack-free surface.
Can I freeze these cheesecake jars?
Yes, you can freeze them for up to a month. Thaw in the refrigerator overnight before serving.
Final Thoughts
These bake strawberry cheesecake jars are a delightful way to enjoy a classic dessert with a modern twist. I hope they bring a touch of sweetness to your table and spark joyful memories of your own. Don’t forget to share your creations with me—I love seeing how you make these recipes your own!
👉 I hope you loved making these bake strawberry cheesecake jars—they’re like little jars of happiness ready to brighten any day. If you’re in the mood for more sweet treats, check out my recipes for Blueberry Muffins, Lemon Bars, or Chocolate Chip Cookies. Each one is a delicious adventure waiting to happen. Join us on our Facebook Page and Facebook Group—and don’t forget to follow on Pinterest for daily inspiration!
· ·
Bake Strawberry Cheesecake Jars: 7 Easy Steps
These bake strawberry cheesecake jars are a delightful twist on a classic dessert, perfect for individual servings and bursting with fresh strawberry flavor.
Keep the screen of your device on while you follow the steps.
- In a bowl, combine graham cracker crumbs, 2 tablespoons of sugar, and melted butter. Mix until the crumbs are evenly coated.
- Divide the crust mixture evenly among 8 small mason jars, pressing it down gently to form a firm base.
- In a large mixing bowl, beat the cream cheese until smooth. Add 1/2 cup of sugar, eggs, and vanilla extract, and continue to beat until well combined and creamy.
- Spoon the cheesecake mixture over the crust in each jar, filling them about 3/4 full.
- Preheat your oven to 325°F (163°C). Place the jars in a baking dish and fill the dish with hot water until it reaches halfway up the sides of the jars. Bake for 25-30 minutes or until the centers are set.
- In a saucepan, combine strawberries, lemon juice, cornstarch, and water. Cook over medium heat, stirring frequently, until the mixture thickens and the strawberries are soft.
- Once the cheesecakes have cooled, spoon the strawberry topping over each jar.
- Refrigerate the jars for at least 2 hours or until fully set.